

A successful home painting project doesn’t begin with the paint itself, but with proper preparation. Whether you’re refreshing a single room or giving your entire house a makeover, what you need to know about preparing for home painting is essential for achieving a beautiful, lasting finish. The key to a flawless paint job lies in taking the time to properly prepare both your surfaces and the space. With the right steps, your home painting project will be a smoother and more enjoyable experience.
Gathering the Right Tools and Materials
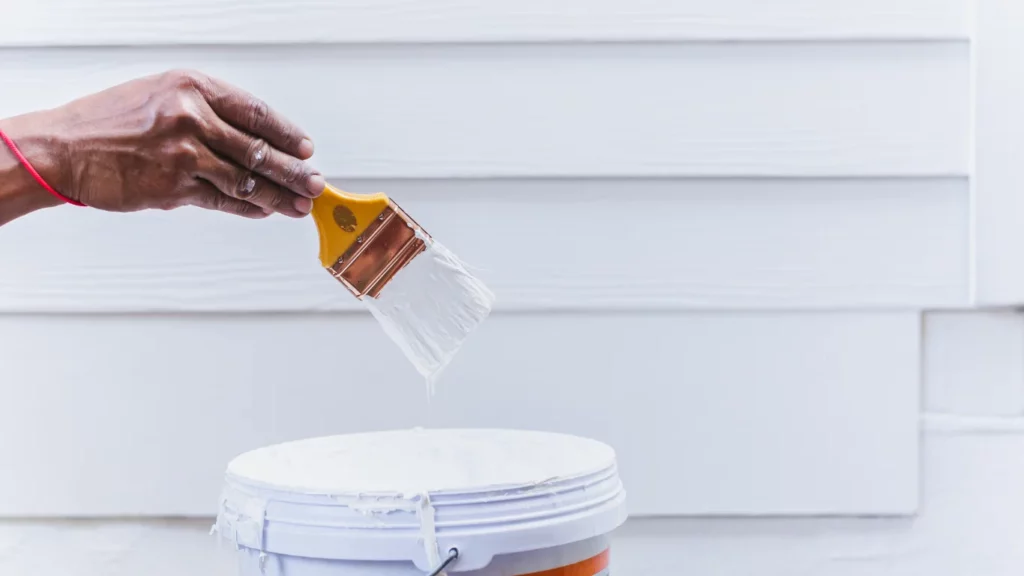
One of the first steps in what you need to know about preparing for home painting is to gather the proper tools and materials for the job. Having everything on hand before you begin will save you time and make the process more efficient. Start by choosing the appropriate type of paint for your project. Consider the area you’re painting—different types of rooms and surfaces require different finishes. For example, kitchens and bathrooms benefit from moisture-resistant, washable finishes, while living rooms or bedrooms can use matte or satin finishes for a more decorative look.
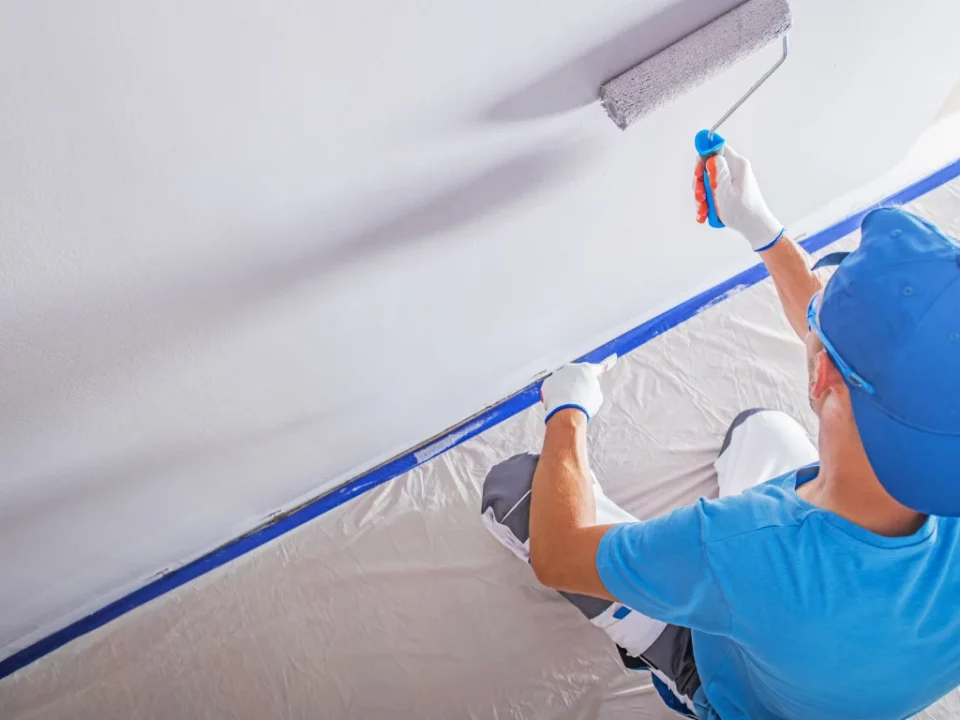
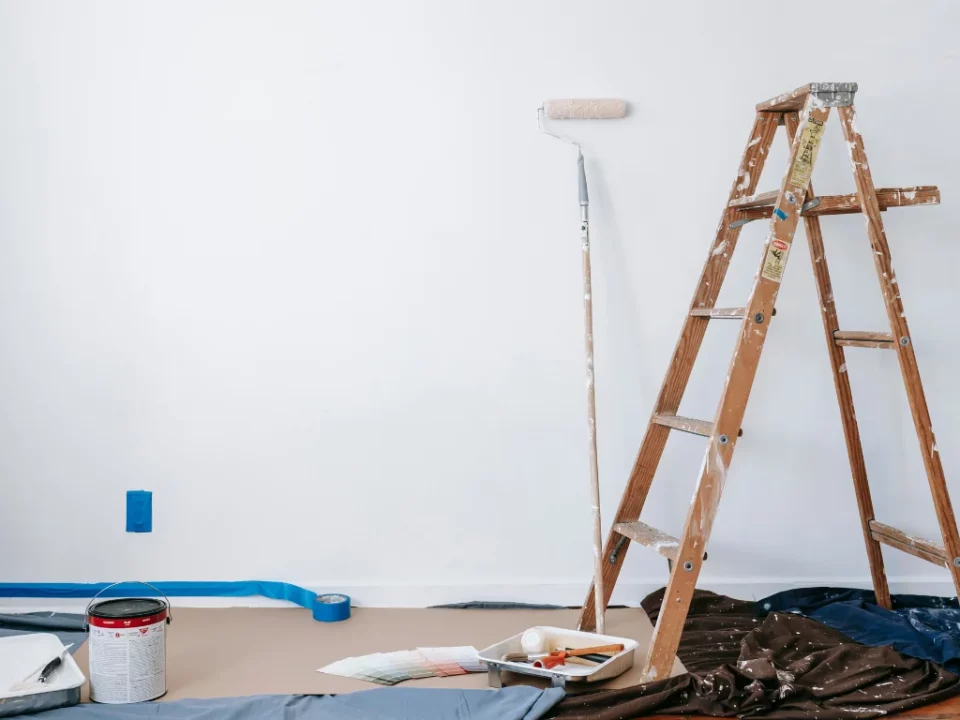
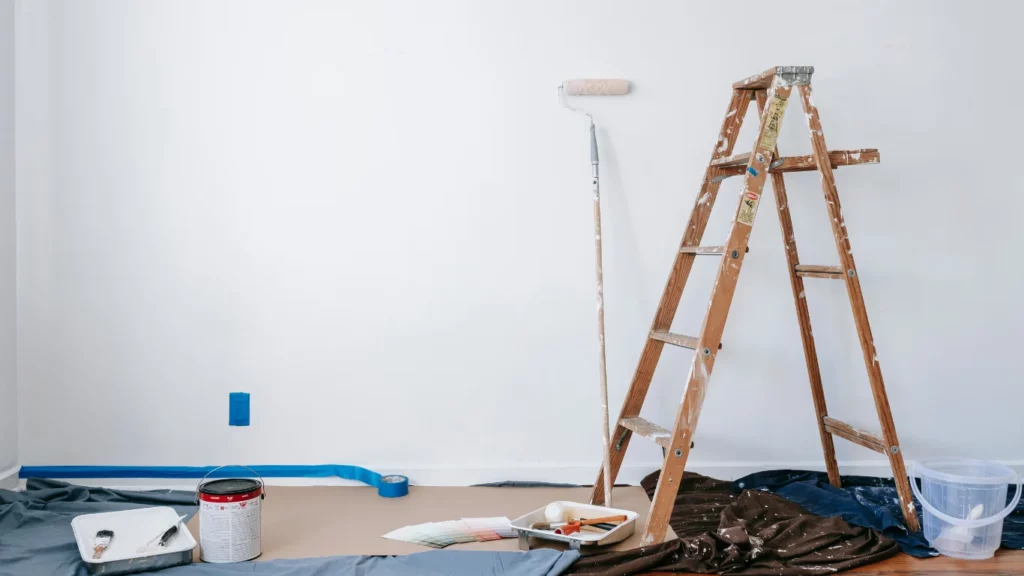
In addition to selecting your paint, you will need the right equipment, such as brushes, rollers, painter’s tape, drop cloths, and paint trays. Depending on the size of the project, you might also want to use extension poles for your rollers or even a paint sprayer. Don’t forget to have sanding blocks, spackle, and caulk for preparing the surfaces, as well as a ladder for reaching higher walls and ceilings. The more organized you are with your tools, the smoother your painting process will be.
Preparing the Space and Surfaces
What you need to know about preparing for home painting also includes properly preparing the space and surfaces you’re about to paint. Start by clearing the room of furniture or covering it with plastic sheets to protect it from paint splatters. Lay down drop cloths or old sheets on the floor to catch any drips or spills. This will make cleanup easier and prevent damage to your floors.
Once the space is protected, move on to prepping the surfaces. Clean the walls and trim thoroughly to remove any dirt, dust, or grease, as these can prevent the paint from adhering properly. Use a gentle detergent and a sponge to wash the surfaces. Pay special attention to areas with high traffic, such as hallways or kitchens, where grease buildup is common. Allow the walls to dry completely before continuing.
Check the walls for any cracks, holes, or imperfections that could interfere with the final result. Use spackle to fill in any small holes or cracks, and smooth the surface with a putty knife. For larger cracks, you may need to use caulk or wall repair tape. After the spackle or caulk dries, sand the repaired areas smooth for an even surface. This step is crucial, as a smooth, even surface is key to a professional-looking finish.
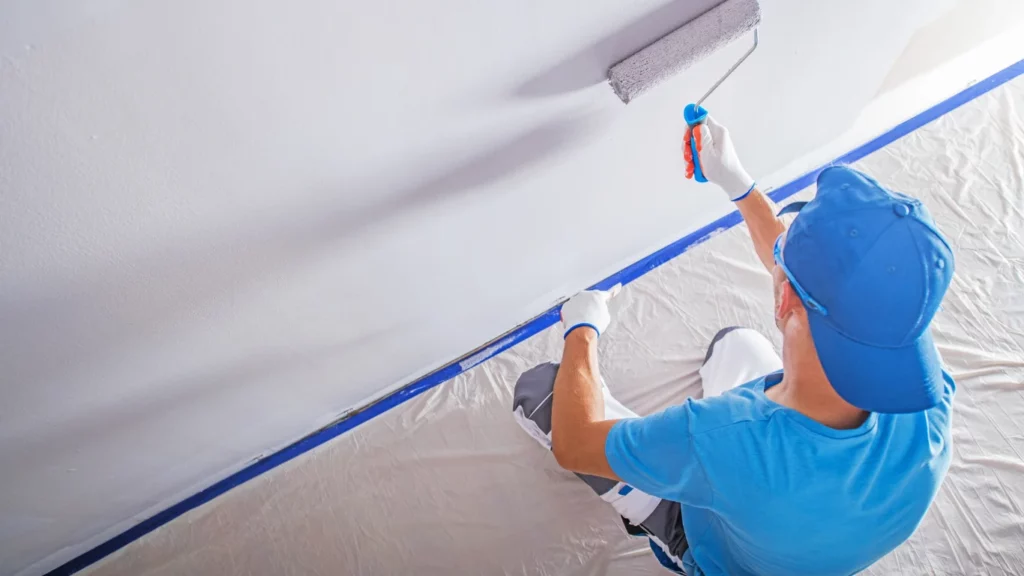
Finally, apply painter’s tape along the edges of trim, windows, and baseboards to ensure clean lines and protect these areas from any accidental paint splashes. Press the tape firmly to avoid paint bleeding underneath.
By following these simple yet essential steps, you’ll be well on your way to a successful home painting project. What you need to know about preparing for home painting is all about planning ahead and taking the time to properly prepare your surfaces and space. The result will be a cleaner, more professional finish that lasts for years to come.
Read More:
Essential Preparation Tips for a Flawless Home Painting Experience