

A successful home painting project starts long before you open the paint can. The key to achieving a flawless finish is proper preparation. Whether you’re painting a single room or an entire house, essential preparation tips for a flawless home painting experience can make the difference between a job well done and one that falls short. By taking the time to prepare, you’ll ensure that your space is ready for a smooth and successful painting process.
Plan and Gather the Right Tools and Materials
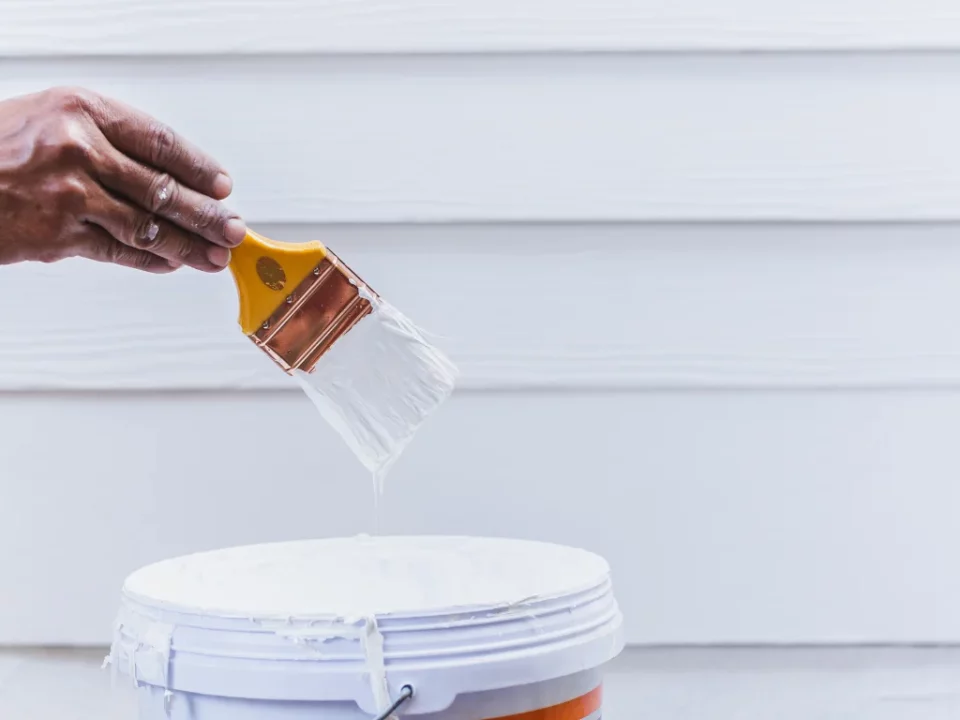
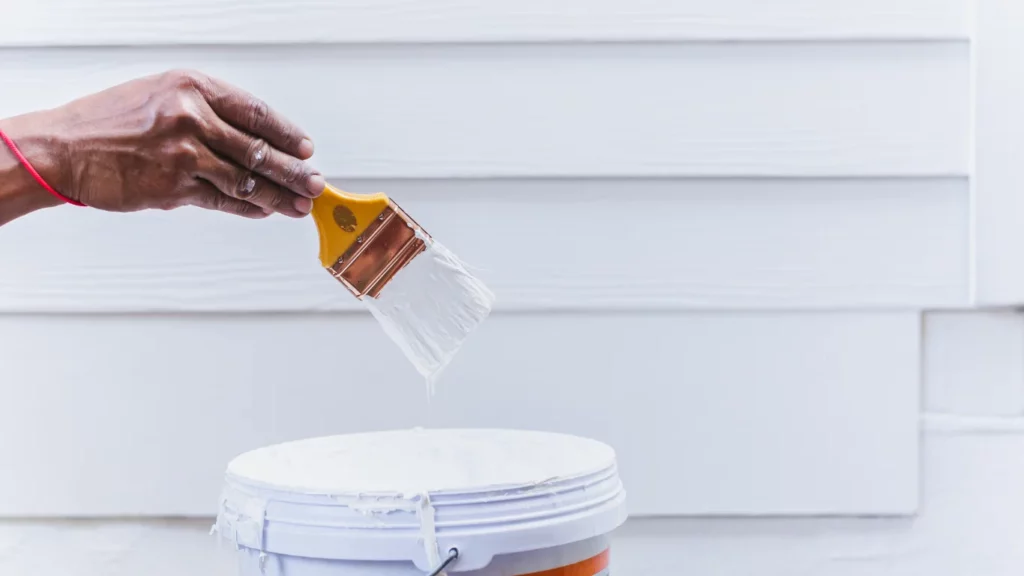
One of the most important essential preparation tips for a flawless home painting experience is to plan ahead and gather all the necessary tools and materials. Having everything you need within reach will save you time and frustration during the painting process. Start by choosing the right paint for your project. Consider the room’s function, lighting, and the durability required. For high-traffic areas like kitchens and hallways, a washable, durable paint finish is ideal. Bedrooms and living rooms may benefit from a more decorative, matte finish.
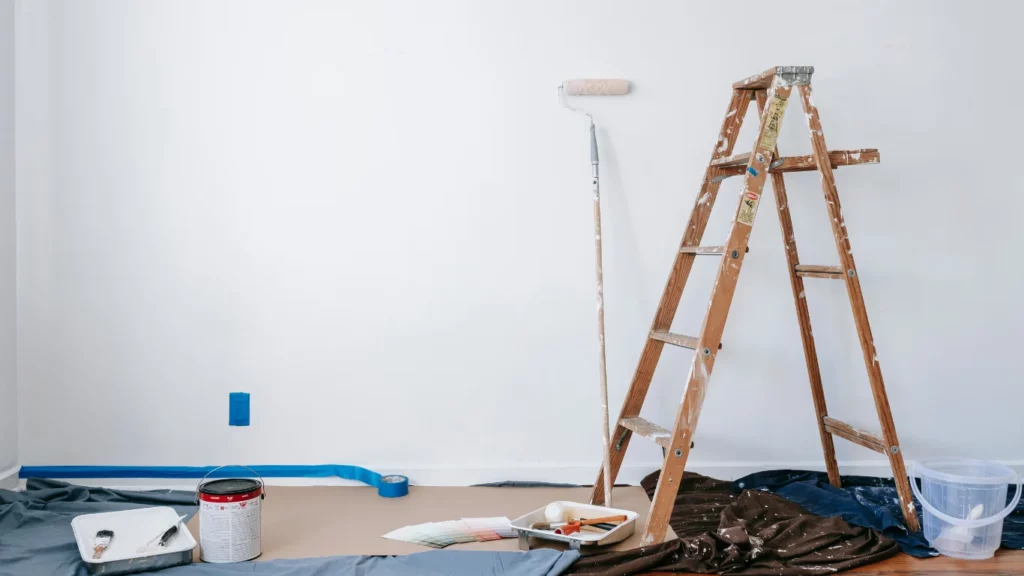
You’ll also need the right tools, such as brushes, rollers, painter’s tape, drop cloths, and paint trays. For larger projects or higher walls, you may want to invest in extension poles or a paint sprayer for more even coverage. Painter’s tape is a must for protecting trim and edges, ensuring clean lines that make your paint job look professional. Additionally, don’t forget to gather supplies for surface prep, such as spackle for filling holes and sandpaper for smoothing rough areas.
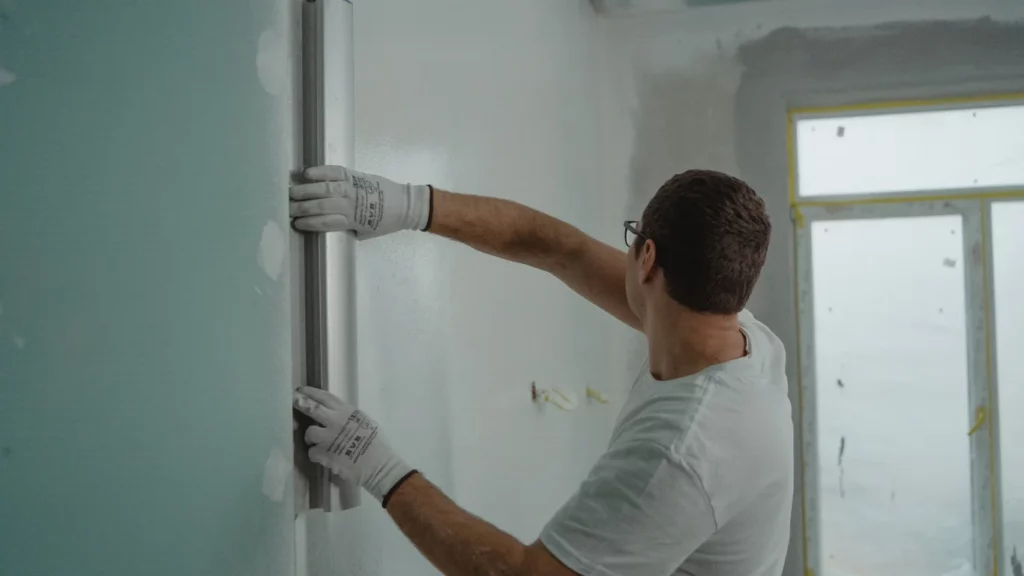
Prepare Your Space and Surfaces Properly
Essential preparation tips for a flawless home painting experience wouldn’t be complete without emphasizing the importance of preparing your space and surfaces. Start by removing any furniture or covering it with plastic sheeting to protect it from paint splatters. Use drop cloths on the floors to catch any spills and avoid damage. The more protection you provide, the easier your cleanup will be.
Next, ensure that the surfaces you’re painting are in good condition. Clean the walls and trim to remove dirt, grease, or stains that can interfere with paint adhesion. Use a mild detergent solution and a soft cloth or sponge to scrub the surfaces, especially in areas like kitchens and bathrooms where grease buildup is common.
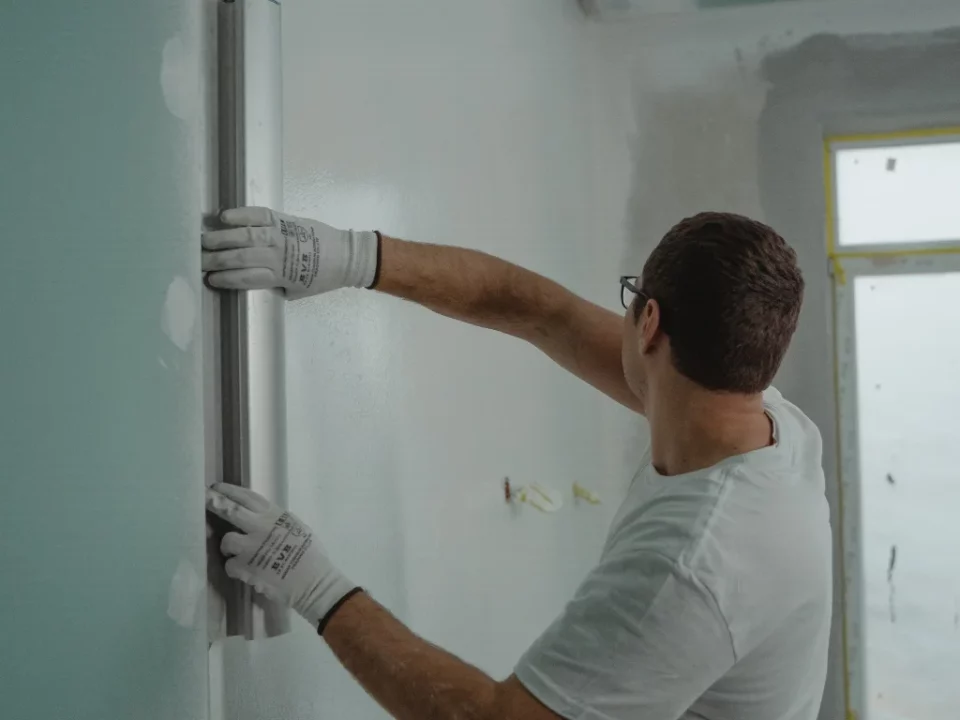
Check the walls for any cracks, holes, or imperfections and repair them using spackle or caulk. Once the repairs dry, use sandpaper to smooth out the surface. If you’re painting over a glossy or oil-based finish, light sanding will help the new paint adhere better. Don’t skip this step, as smooth, well-prepared surfaces are key to a long-lasting, flawless finish.
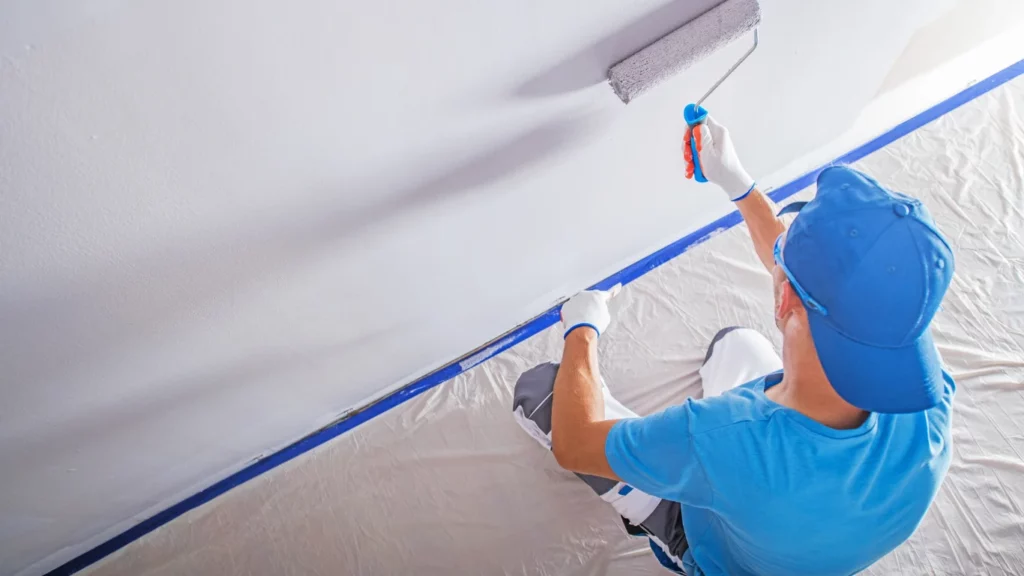
Once the surfaces are prepped, apply painter’s tape along edges such as baseboards, windows, and door frames. This will create sharp, clean lines and prevent any paint from accidentally spilling onto unwanted areas. Make sure the tape is applied firmly and evenly, paying extra attention to corners and edges.
By following these essential preparation tips for a flawless home painting experience, you set yourself up for success. The time spent on preparation will lead to smoother application, a cleaner workspace, and a more polished finish. Whether you’re a first-time painter or an experienced DIYer, the right preparation makes all the difference in achieving a professional-quality result. With the right tools, careful surface prep, and protective measures in place, your home will be ready for its fresh new look.
Read More: