


A fresh coat of paint can transform your home, adding beauty and value while protecting surfaces from wear and tear. However, proper preparation is key to achieving a smooth, long-lasting finish. Rushing into painting without the right prep work can lead to uneven coverage, peeling, or other issues. Understanding the best methods for getting your home ready will make the process smoother and ensure professional-quality results.
Painting Made Easy: A Complete Guide to Prepping Your Home for a Flawless Finish
Before opening a paint can, it’s essential to prepare your space properly. Start by clearing the room of furniture or covering items with drop cloths to protect them from accidental splatters. Removing wall décor, switch plates, and outlet covers will also help ensure clean edges and a seamless application.
Cleaning the walls is a crucial step that many homeowners overlook. Dust, grease, and dirt can prevent paint from adhering properly, leading to a patchy or peeling finish. Use a mild detergent solution to wipe down surfaces, and allow them to dry completely before proceeding. For walls with mold or mildew, a solution of water and vinegar can help eliminate any lingering spores.
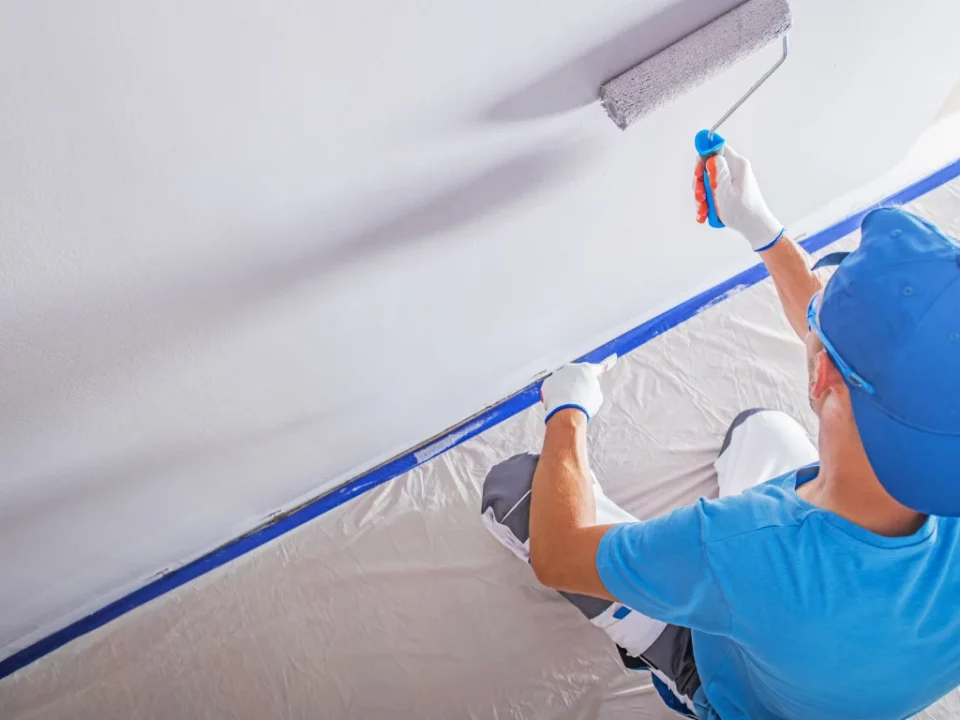
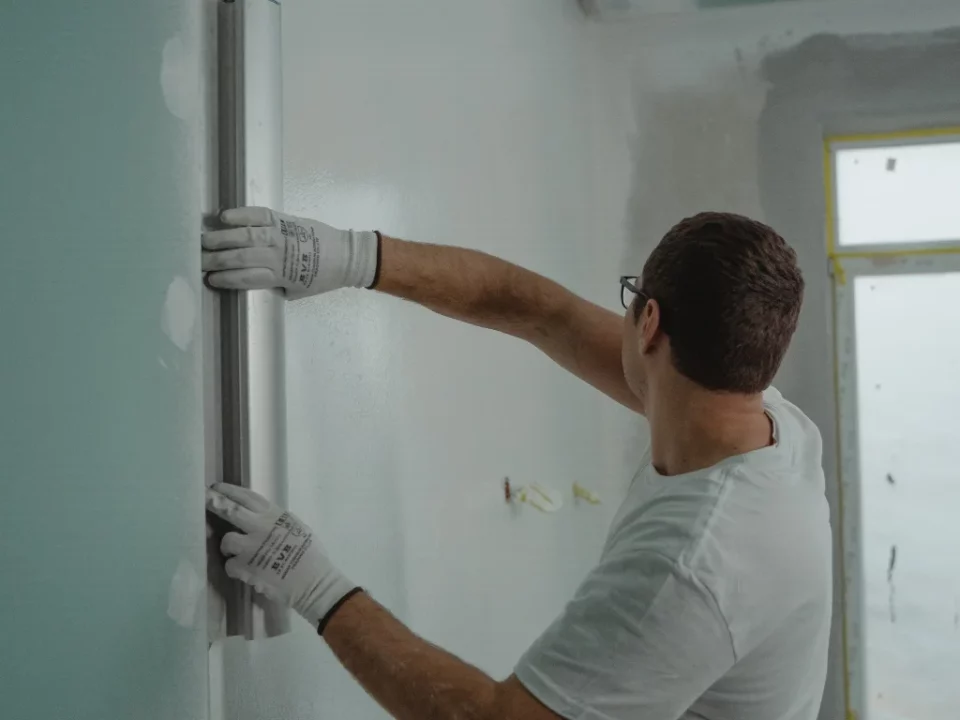
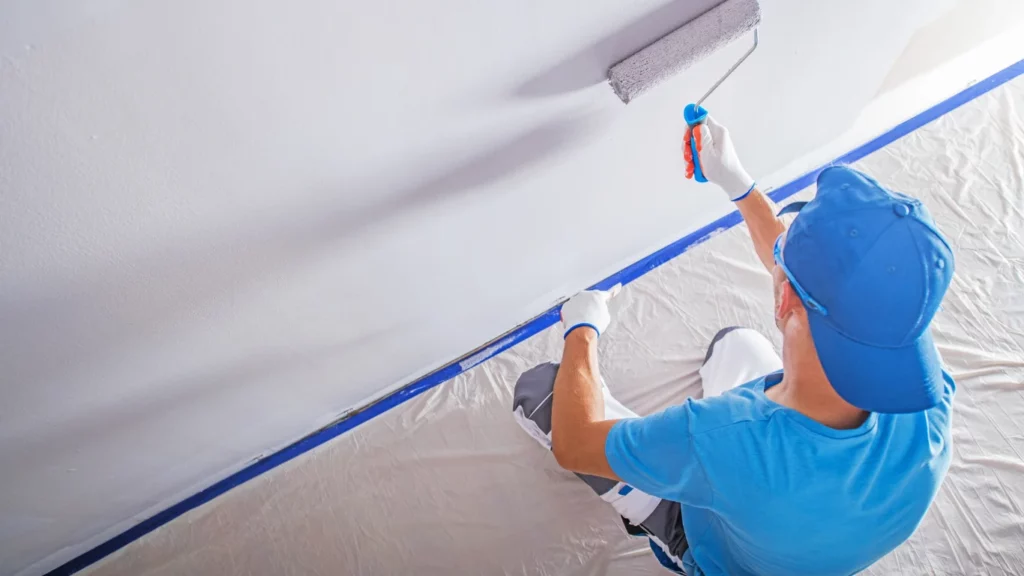
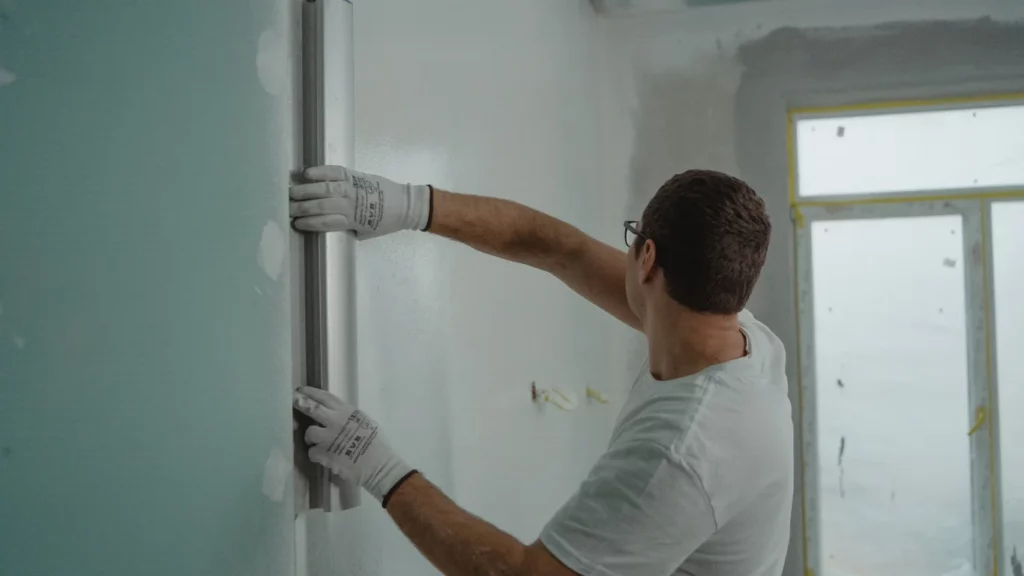
Once the walls are clean, inspect them for imperfections. Fill any cracks, holes, or dents with spackling compound, then sand the area smoothly once it dries. Uneven surfaces can cause the paint to settle poorly, so taking the time to patch and sand ensures a polished final result. Using painter’s tape along edges, trim, and baseboards will create crisp, clean lines and protect areas from accidental brush strokes.
A Complete Guide to Prepping Your Home for Success Before Painting Begins
Choosing the right primer is another key factor in achieving a flawless paint job. Priming helps seal the surface, covers stains, and enhances the durability of the final coat. For walls with dark or bright colors, a primer ensures even coverage, reducing the number of coats needed for the new paint to look its best.
Ventilation is important during both the preparation and painting process. Open windows and use fans to allow fresh air to circulate, which helps paint dry evenly and minimizes fumes. If you’re working in a small or enclosed area, consider using a low-VOC paint option to reduce exposure to strong odors and chemicals.
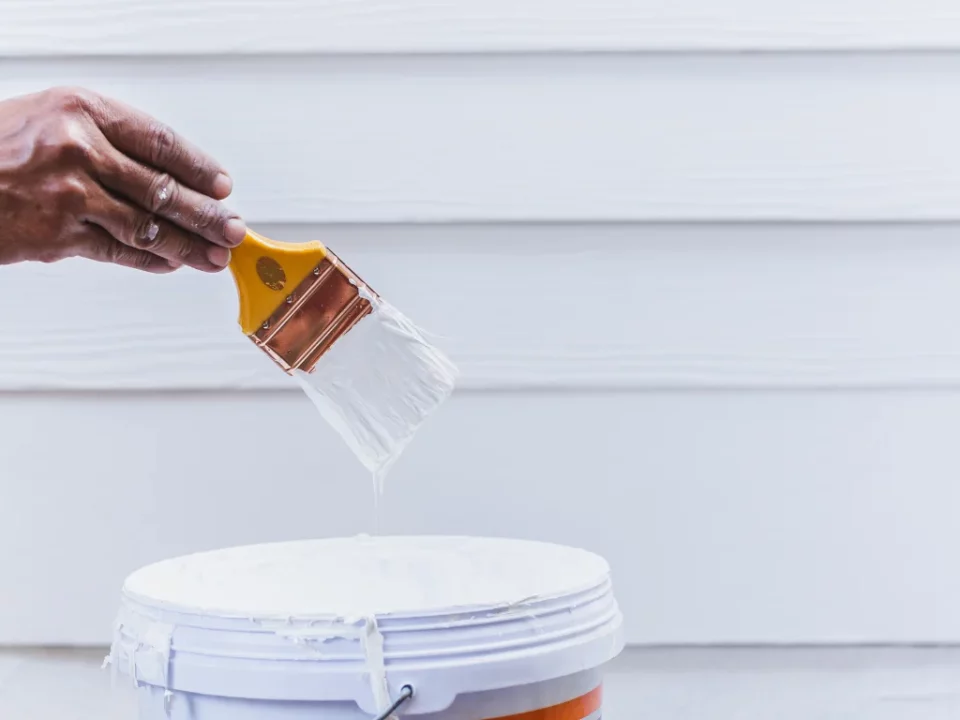
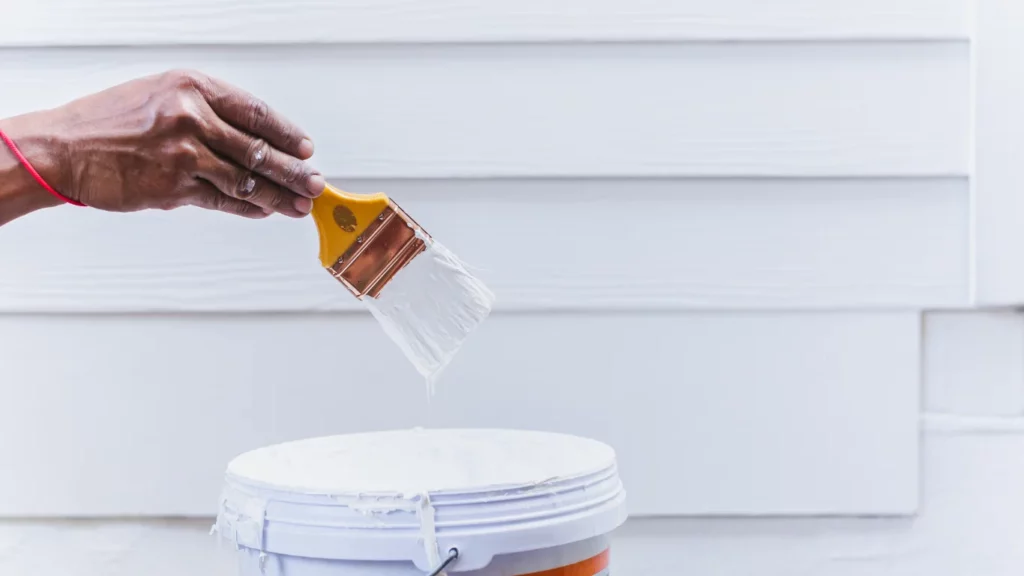
When it’s time to paint, using high-quality brushes and rollers will make a noticeable difference in the finish. Cheap applicators can leave streaks or shed bristles, compromising the final look. For walls, a roller with the appropriate nap length will provide smooth coverage, while angled brushes work best for cutting in around edges and corners.
By following these steps in this complete guide to prepping your home for success, painting becomes an easy and rewarding project. Proper preparation ensures that the paint adheres well, looks smooth, and lasts for years to come. Taking the time to do it right from the start will lead to a stunning, professional-quality finish that enhances your home’s appearance.