


Preparing your home for painting is a crucial step in achieving a professional-looking, long-lasting finish. Whether you’re refreshing a single room or painting the entire exterior, taking the time to properly prepare can make a significant difference in the final outcome. Here’s a comprehensive guide to ensure that your home is ready for painting.
Gathering the Necessary Tools and Supplies
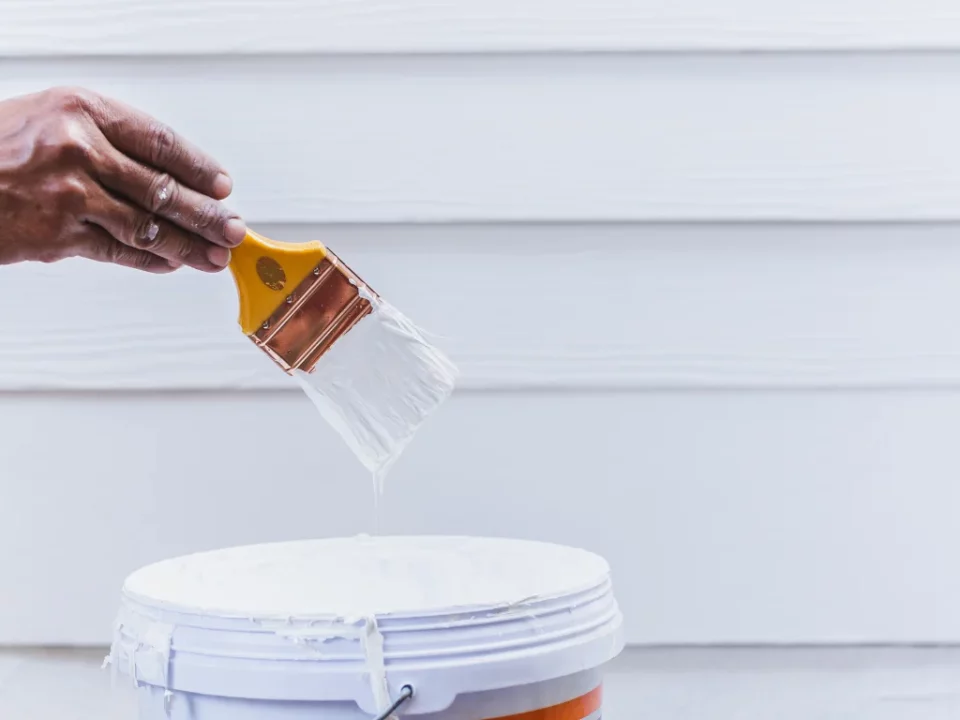
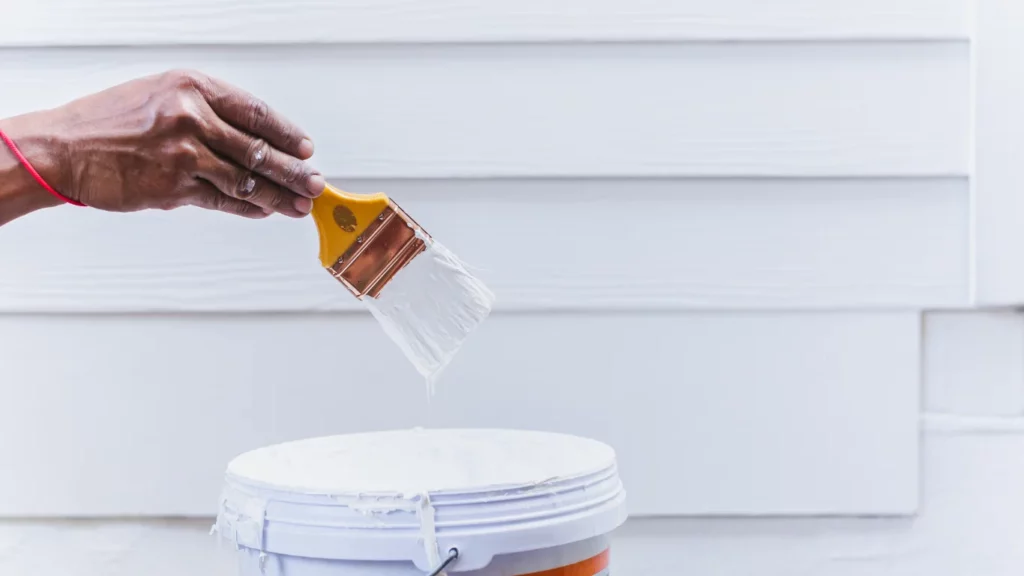
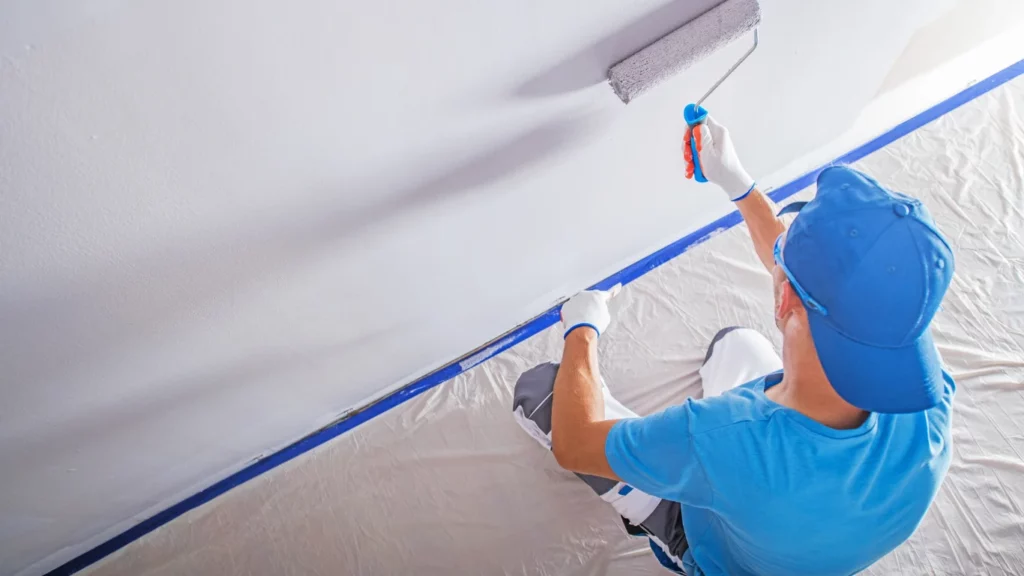
Before starting, it’s important to gather all the necessary tools and supplies. This includes high-quality brushes, rollers, drop cloths, painter’s tape, sandpaper, a ladder, and, of course, the paint itself. Choosing the right type of paint for your project is essential. Consider factors like the surface you’re painting, the room’s function, and your preferred finish, whether it’s matte, semi-gloss, or high-gloss. For outdoor projects, ensure that the paint is durable and weather-resistant.
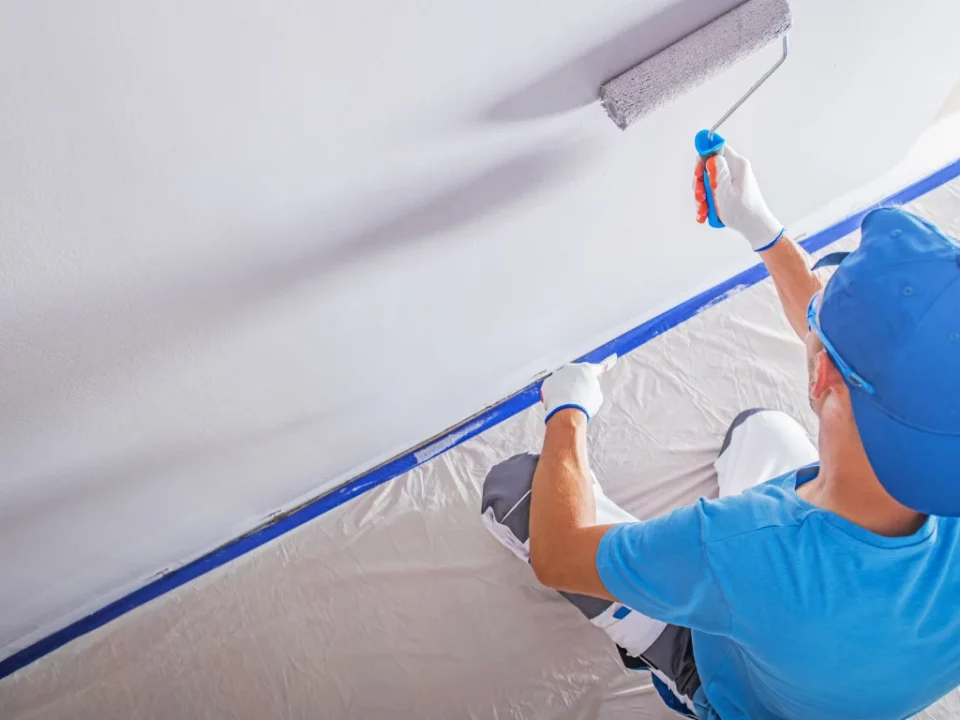
Another key tool you’ll need is painter’s tape, which helps create clean, crisp lines around edges, doors, and windows. Drop cloths will protect your furniture and floors from splashes or spills. Sandpaper or a sanding block is essential for smoothing rough surfaces and creating a surface that will allow the paint to adhere properly.
Preparing the Surfaces for Painting
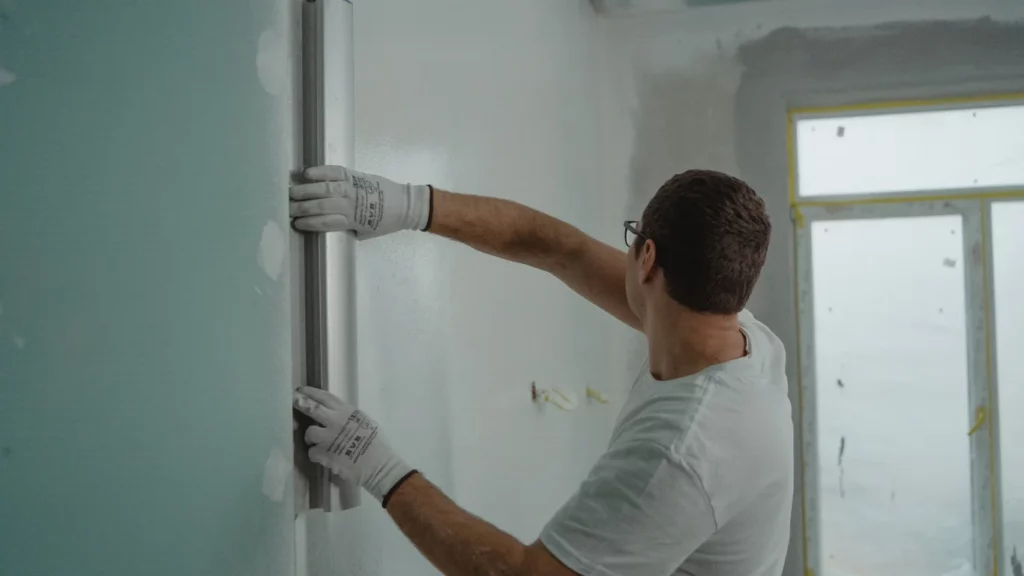
Once you’ve gathered your supplies, the next essential step is preparing the surfaces to be painted. This includes cleaning, sanding, and repairing any imperfections. For interior walls, start by dusting off any cobwebs and wiping down surfaces to remove dirt, grease, and oils. If you’re painting kitchen or bathroom walls, make sure to clean them with a degreaser to remove any built-up residue from cooking or humidity.
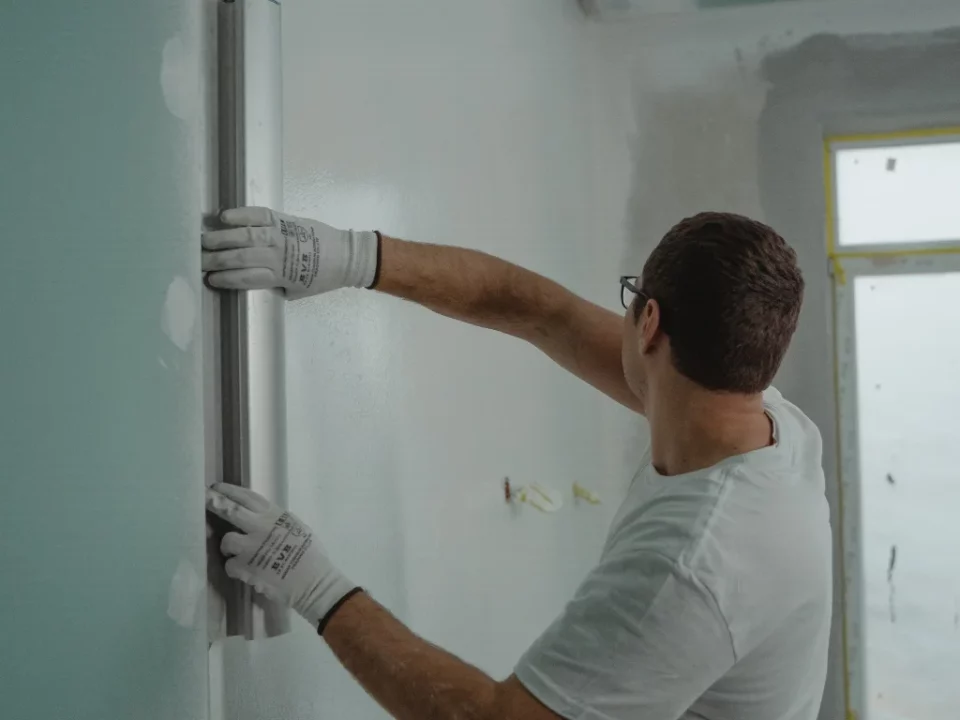
Next, inspect the surface for any holes, cracks, or dents. These should be filled with spackle or caulk, then smoothed with a putty knife. Once dry, sand the patched areas to ensure they are flush with the rest of the wall. If you’re working with exterior surfaces, check for peeling or chipped paint, which will need to be scraped off to create a smooth base.
For areas with glossy or smooth finishes, sanding is particularly important to allow the new coat of paint to adhere properly. Lightly sand the surface to remove the sheen, then wipe down the walls with a damp cloth to remove dust and debris.
Taking these steps to properly prepare your home for painting will not only ensure a flawless finish but also extend the life of your paint job. Proper surface preparation is key to creating a beautiful, durable result that will last for years to come. By following these essential steps, you’ll be ready to start your painting project with confidence and achieve the professional-looking finish you desire.
Read More:
How to Choose the Right General Contractor: A Guide to Stress-Free Projects