


Roof installation is a crucial aspect of home maintenance, and getting it right is essential for ensuring the safety and longevity of your property. Whether you’re replacing an old roof or building a new home, following a step-by-step guide to roof installation can help ensure a successful and durable outcome. This article outlines the key techniques and tips to guide you through the process.
Step-by-Step Guide to Roof Installation: Techniques for Proper Preparation
The first step in a roof installation project is preparation. Begin by choosing the right roofing materials based on your home’s design, climate, and budget. Asphalt shingles are the most common choice for homeowners, but there are other options like metal, wood, and clay tiles, each offering different benefits. It’s important to select a material that suits both your aesthetic preferences and practical needs.
Once you have the materials, it’s time to prepare the roof deck. The deck must be clean, dry, and free from any damage. Inspect the deck for any warped or rotten wood, and replace it as needed to ensure a stable foundation. Afterward, an underlayment, typically made from felt or synthetic material, should be applied. This layer serves as a moisture barrier, preventing water from seeping into the structure beneath the roofing material.
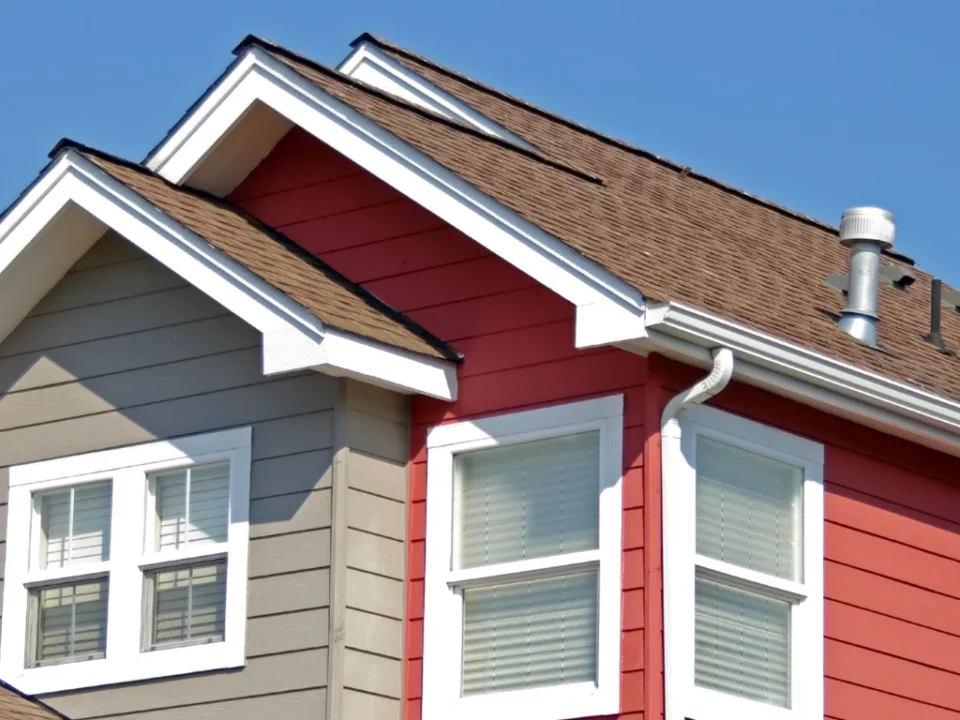
The next step is to install flashing around critical areas like chimneys, vents, and skylights. Flashing is a metal material that directs water away from vulnerable areas to prevent leaks. It’s essential for ensuring the integrity of your roof, especially in places where water can accumulate or seep in.
Step-by-Step Guide to Roof Installation: Techniques for Shingle Placement and Final Touches
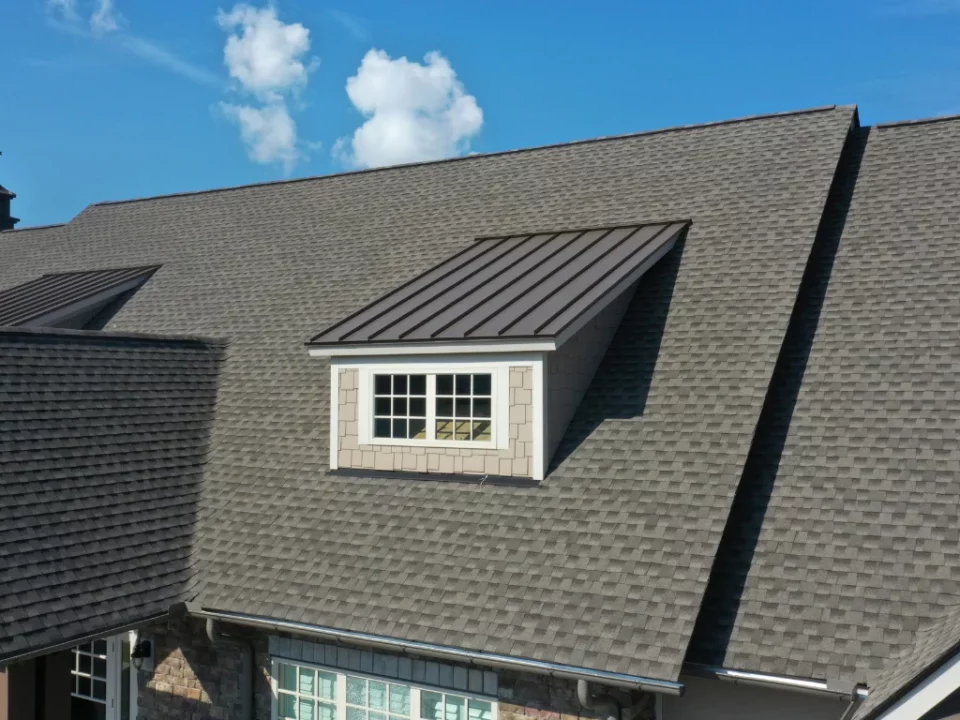
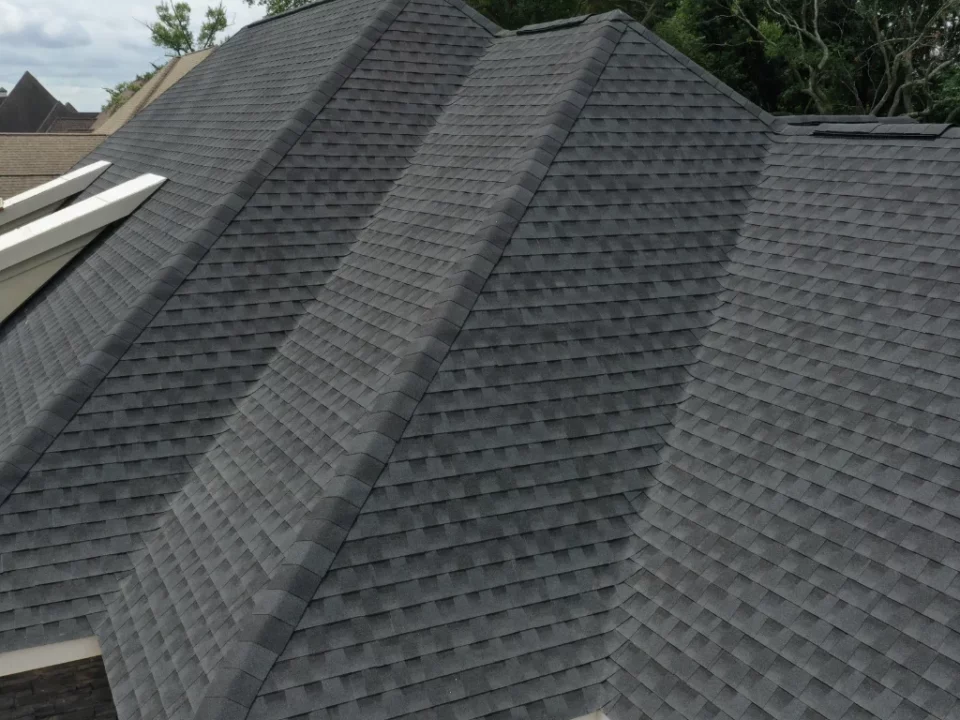
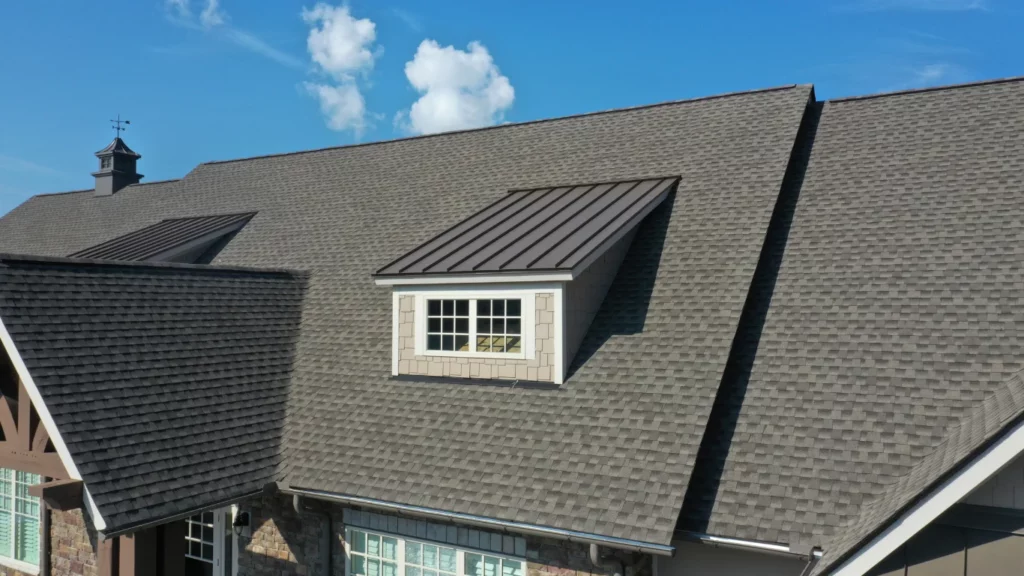
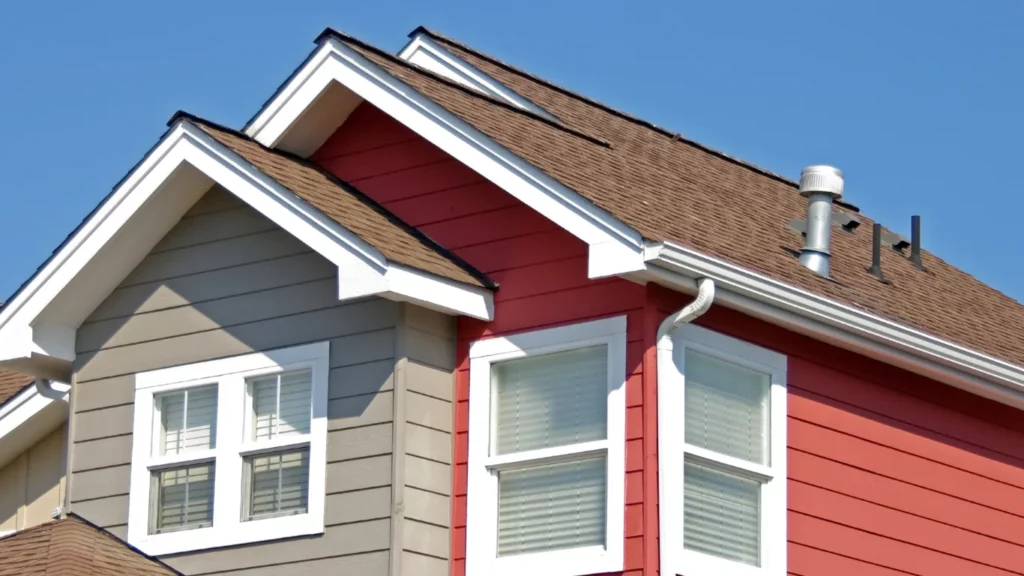
After preparing the roof deck and installing the underlayment and flashing, it’s time to start installing the shingles or roofing material. Begin at the roof’s edge, placing the first row of shingles, ensuring they are properly aligned. As you continue, apply each row of shingles in an overlapping pattern to prevent water from seeping underneath. Make sure to use nails that are long enough to secure the shingles but not too long to penetrate the deck.
It’s important to use high-quality roofing nails that are rust-resistant to avoid corrosion over time. Be sure to follow the manufacturer’s guidelines for the correct number of nails to use per shingle to prevent future problems. Pay attention to the ridge and valleys of the roof, as these areas require additional care to ensure the shingles are properly secured and sealed.
Ventilation is a crucial step often overlooked during roof installation. Installing ridge vents and soffit vents will help create airflow in the attic, preventing moisture buildup that can lead to mold or premature wear on roofing materials. Proper ventilation helps regulate the temperature in your home, ensuring a more energy-efficient environment.
Finally, after the shingles are installed, perform a thorough inspection to make sure everything is secure and properly aligned. Double-check for any gaps or areas where water could potentially leak through, and fix any issues before completing the project.
By following this step-by-step guide to roof installation, you can ensure a successful and durable roof that protects your home for years to come. Whether you’re tackling the project yourself or hiring a professional, the key to a long-lasting roof is using the right materials, preparation techniques, and attention to detail during installation.
Read More:
Top Roof Installation Techniques for Durable and Long-Lasting Roofs
Essential Roof Installation Techniques Every Homeowner Should Know