


A well-installed roof is essential for protecting your home from the elements and ensuring long-term durability. Whether you are building a new home or replacing an existing roof, following a step-by-step guide to proper roof installation for maximum protection can prevent costly repairs and extend the lifespan of your roofing system. Working with skilled professionals and using high-quality materials will help achieve a secure and efficient installation.
Step-by-Step Guide to Proper Roof Installation for Maximum Protection: Preparing for the Process
Preparation is a critical part of roof installation. Before beginning any work, a thorough inspection of the existing structure is necessary to identify potential damage, weak spots, or necessary reinforcements. If replacing an old roof, proper removal of old shingles and underlayment ensures a clean surface for the new materials. Any rotting wood or structural issues should be repaired before proceeding.
Choosing the right materials is another essential step. Asphalt shingles, metal roofing, and tile are common options, each offering different levels of durability and aesthetic appeal. The selection should be based on climate conditions, budget, and desired longevity. Proper underlayment, flashing, and insulation are also necessary to create a watertight seal and improve energy efficiency.
Once the roof deck is ready, installing a waterproof barrier is crucial for preventing leaks. Ice and water shields, along with high-quality roofing felt, act as the first line of defense against moisture infiltration. Properly sealing all joints and valleys with flashing protects against water pooling and structural damage. Taking these steps during preparation lays the foundation for a secure and long-lasting roof.
Step-by-Step Guide to Proper Roof Installation for Maximum Protection: Executing a Secure Installation
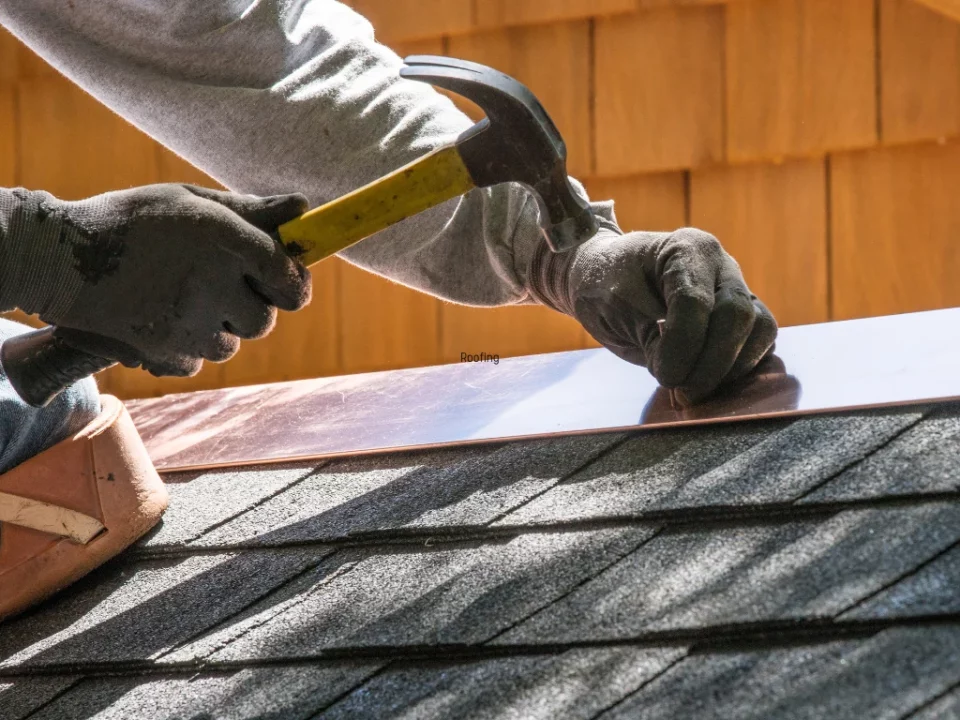
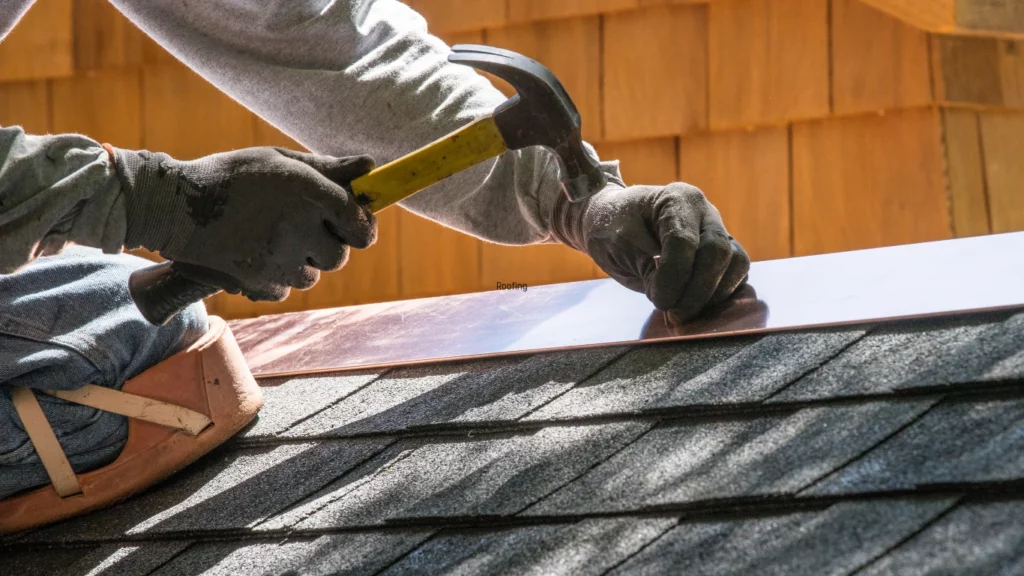
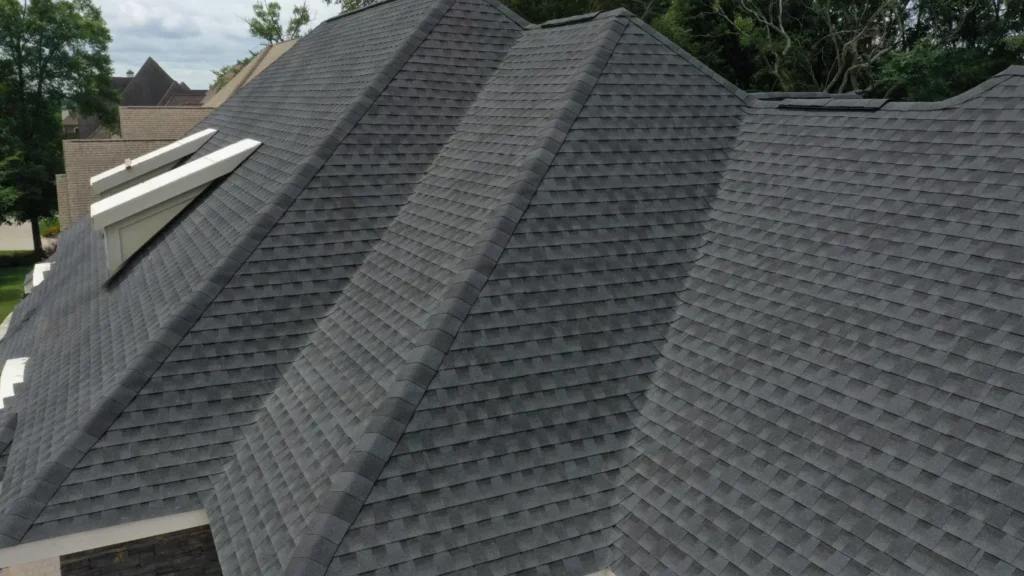
The installation process starts with the placement of starter shingles along the eaves, creating a strong foundation for the layers above. Proper alignment ensures even coverage and prevents wind uplift. Roofing materials should be installed in an overlapping pattern to create a watertight seal and provide maximum protection against harsh weather conditions.
Fastening techniques play a crucial role in roof stability. Nails should be placed at the correct distance and depth to secure shingles without causing damage. Overdriven or underdriven nails can compromise the integrity of the roof, leading to potential leaks or material displacement. Professional roofers follow manufacturer guidelines to ensure a secure and lasting installation.
Ventilation and drainage must be carefully planned to maintain the roof’s longevity. Ridge vents, soffit vents, and attic insulation work together to regulate temperature and prevent moisture buildup. Proper gutter installation and drainage systems direct water away from the home’s foundation, reducing the risk of leaks and water damage.
A final inspection ensures the roof installation meets safety and quality standards. Checking for any loose shingles, gaps in flashing, or exposed nail heads helps identify potential issues before they become major problems. A properly installed roof provides long-term protection, improving energy efficiency and safeguarding the home from environmental elements. By following a step-by-step guide to proper roof installation for maximum protection, homeowners can enjoy peace of mind knowing their investment is secure.