

Installing pavers can transform your outdoor space, creating a beautiful and functional area that adds both style and value to your property. However, to achieve a flawless installation, proper preparation is crucial. In this ultimate guide to preparing your space for pavers installation, we’ll walk you through the essential steps to ensure that your project goes smoothly and your new pavers last for years to come.
Assessing the Area and Planning the Layout
The first step in preparing your space for pavers installation is to assess the area and plan the layout. Begin by determining the size and shape of the space where you want the pavers installed. This might be a patio, driveway, walkway, or garden path. It’s important to measure the area accurately to ensure that you order the right amount of pavers for the job. Mark the area with stakes or spray paint to outline the borders and visualize the design.
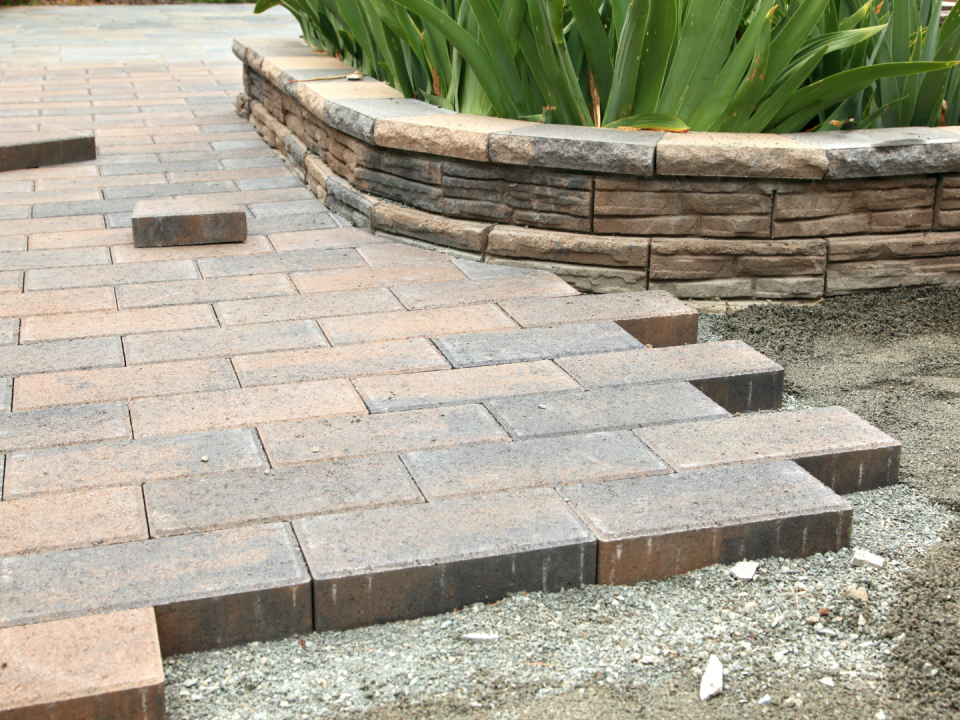
As you plan the layout, think about the pattern you’d like the pavers to follow. Popular patterns include herringbone, basket weave, and running bond, each offering a different aesthetic. Consider how the pattern will fit the space and whether it complements the surrounding elements of your property, such as landscaping and architecture. Planning ahead will make the actual installation process much easier and help ensure that the final look is exactly what you envisioned.
Clearing the Area and Preparing the Foundation
Once the layout is planned, the next step in preparing your space for pavers installation is to clear the area and prepare the foundation. Begin by removing any existing materials such as grass, plants, old pavement, or debris from the area. Use a shovel, rake, or sod cutter to get rid of any unwanted material, ensuring a clean surface to work with.
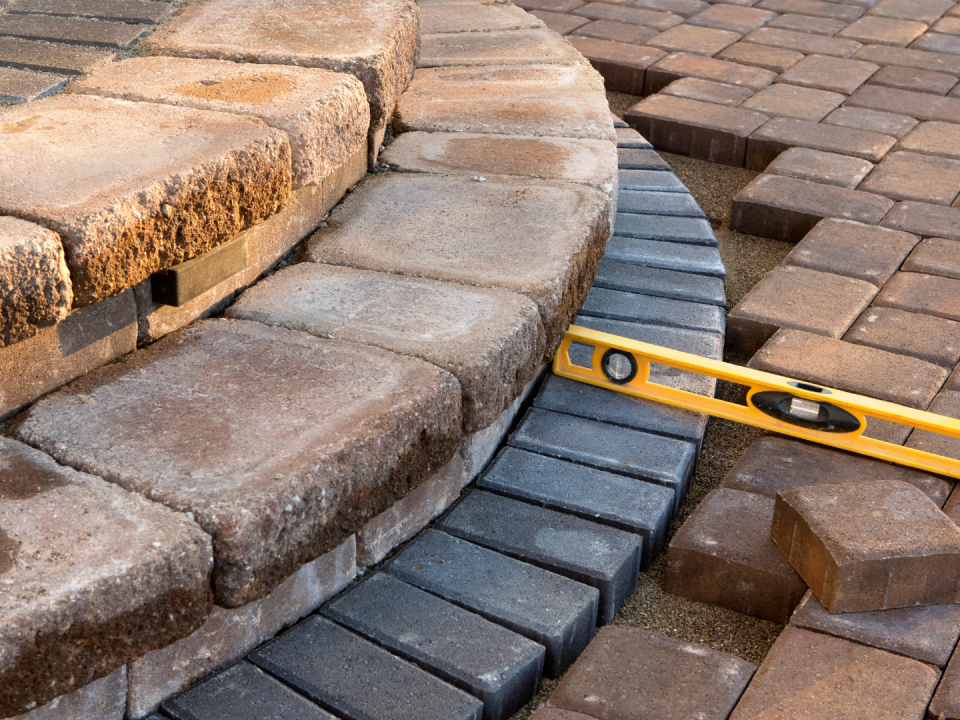
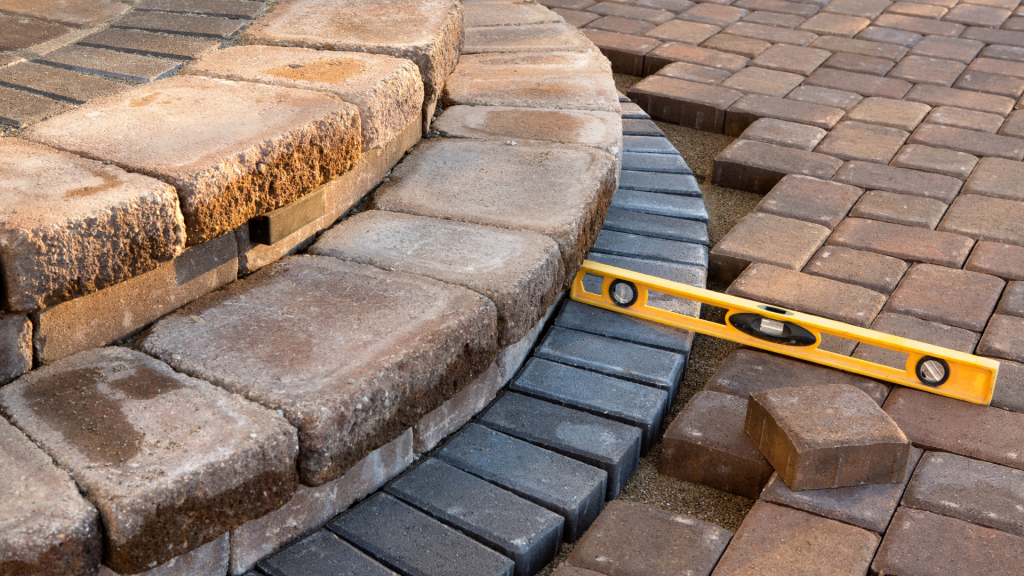
After clearing the area, it’s essential to grade and level the ground. This step ensures that your pavers are placed on a flat and stable surface. Use a shovel to make minor adjustments to the ground, ensuring that the area is evenly leveled. Also, remember that your surface needs to have a slight slope for drainage. A slope of about 1 inch for every 4 feet of surface is ideal to prevent water from pooling between the pavers, which could lead to shifting or damage over time.
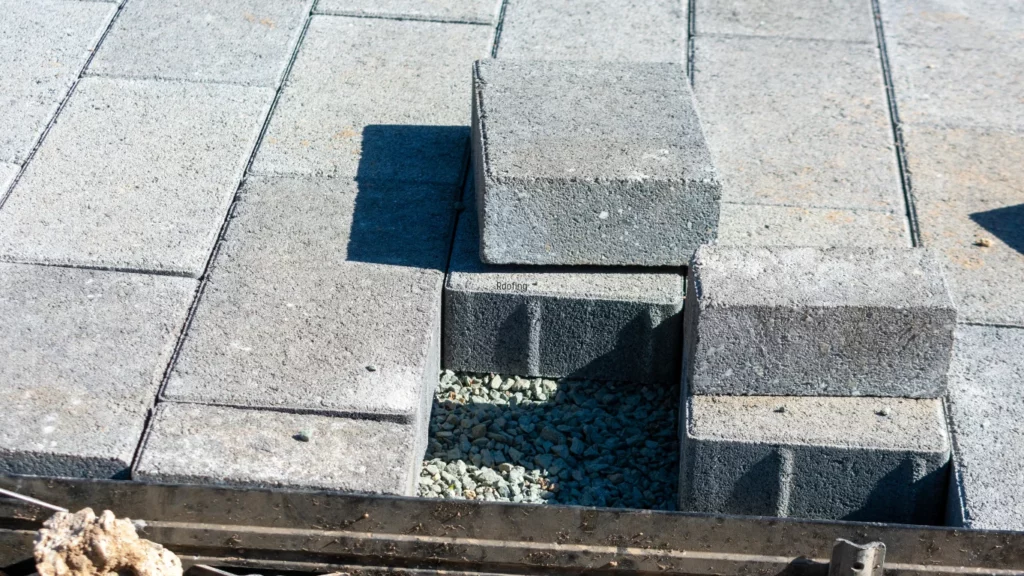
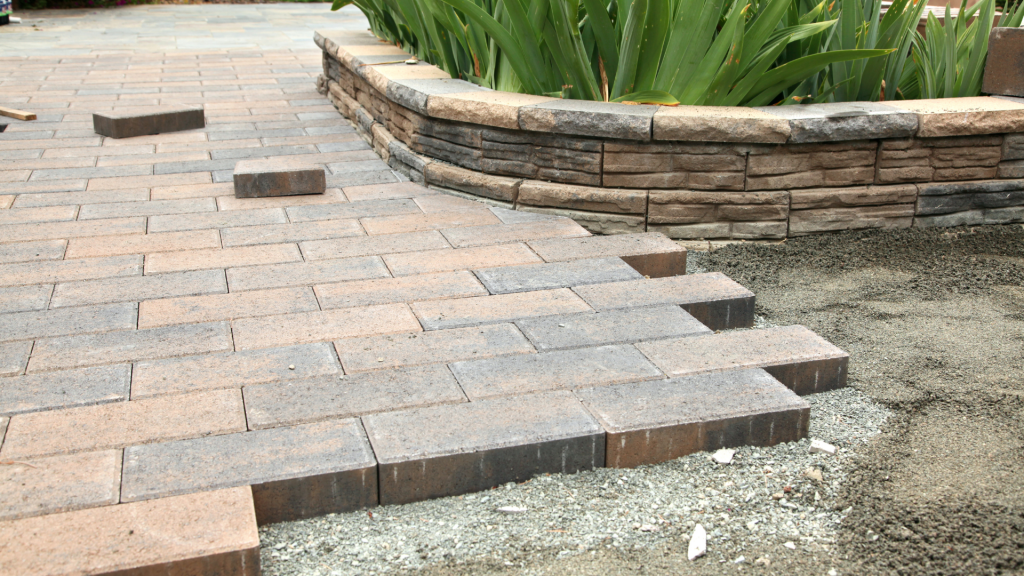
Once the ground is properly leveled, it’s time to lay down a base layer. This layer, typically made of crushed stone or gravel, will help create a stable foundation for your pavers. Spread the gravel evenly across the area, ensuring that it’s about 3 to 4 inches thick. After spreading the gravel, use a compactor to compact the material, making it firm and stable.
After the gravel base is compacted, spread a layer of sand on top of it. The sand layer, usually about 1 inch thick, will help create a smooth, even surface for the pavers to rest on. Use a rake to spread the sand evenly, then lightly compact it to prepare it for the installation of the pavers.
Proper preparation is key to achieving a successful pavers installation. By carefully assessing the area, planning the layout, and preparing the foundation, you can ensure that your pavers are installed on a stable, level surface that will last for years. Following this ultimate guide to preparing your space for pavers installation will help set you up for success and ensure that your new outdoor space looks beautiful and functions perfectly.
Read More:
How Proper Preparation Can Enhance Your Pavers Installation Results
How to Prepare Your Property for Pavers Installation: A Complete Guide
