

Step-by-Step Guide to Proper Preparation for Pavers Installation
Pavers installation can dramatically transform the look and functionality of your outdoor spaces, whether it’s a patio, driveway, or walkway. Proper preparation is key to achieving a durable and visually appealing result. This step-by-step guide to proper preparation for pavers installation ensures that your project is set up for long-term success and satisfaction.
Planning and Site Preparation for Pavers Installation
The first step in any pavers installation project is thorough planning. Begin by determining the purpose of your paved area, as this will influence the choice of materials, size, and design. Consider factors such as the amount of foot or vehicle traffic, exposure to weather, and your overall landscaping aesthetic. Once you have a clear vision, take precise measurements of the area to calculate the quantity of pavers and other materials required.
Site preparation starts with marking the boundaries of the area where the pavers will be installed. Use stakes and string to outline the space, ensuring accuracy in shape and size. It’s important to account for proper drainage by including a slight slope away from structures to prevent water pooling. Consult local building codes to ensure compliance, especially if the installation is near property lines or utilities.
Excavation is a crucial part of the preparation process. Remove grass, topsoil, and debris to create a solid foundation. The depth of excavation depends on the type of pavers and the intended use of the area. For patios and walkways, dig about 6-8 inches deep, while driveways may require up to 12 inches to support the added weight. Compact the excavated area using a plate compactor to create a stable base.
Laying the Foundation for Pavers Installation
A solid base layer is essential for the durability and longevity of your pavers installation. Begin by spreading a layer of crushed stone or gravel over the compacted soil. This base layer should be about 4-6 inches thick for most applications. Compact the gravel thoroughly to eliminate air pockets and create a level surface. Adding a layer of landscape fabric between the soil and gravel can help prevent weed growth and soil erosion.
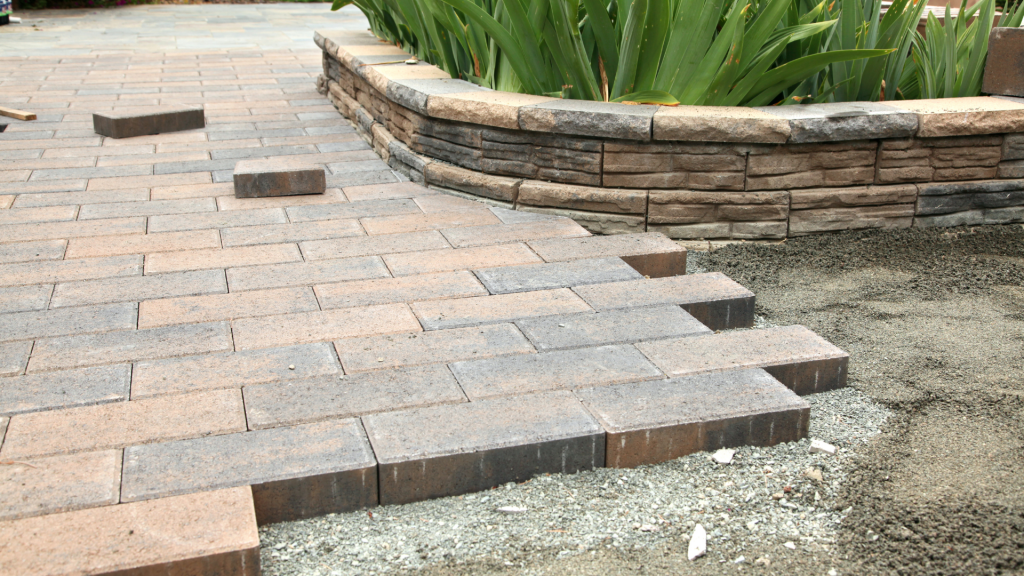
Next, apply a layer of sand over the compacted gravel. The sand acts as a leveling agent and provides a stable bedding for the pavers. Spread the sand evenly, ensuring it is about 1-2 inches thick. Use a screed board to smooth the sand and maintain a uniform thickness across the entire area. Avoid compacting the sand at this stage, as it should remain loose to accommodate the pavers.
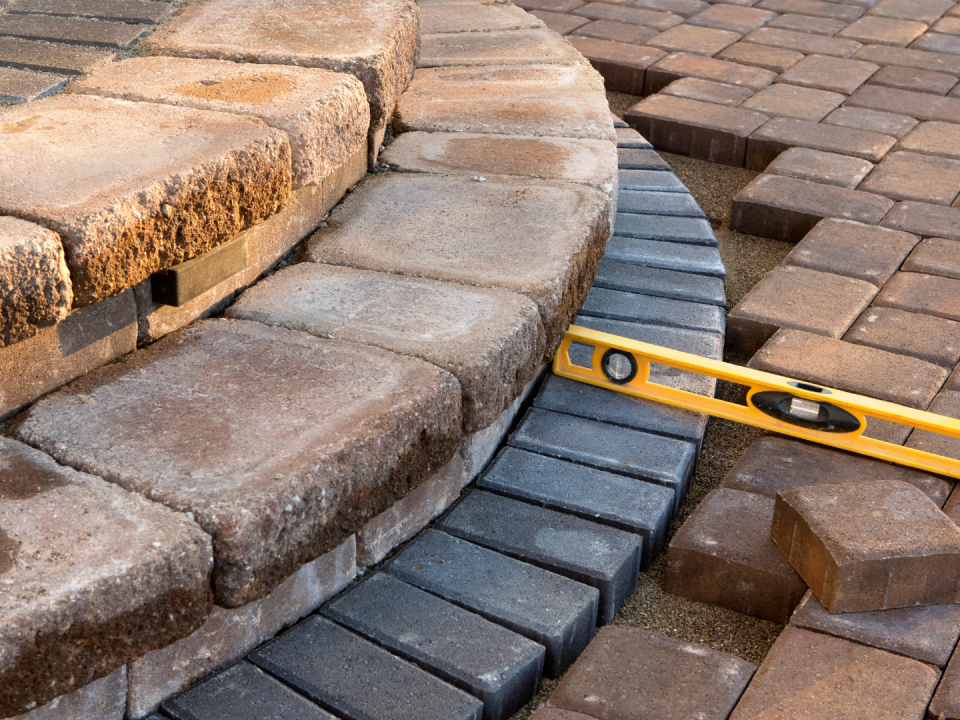
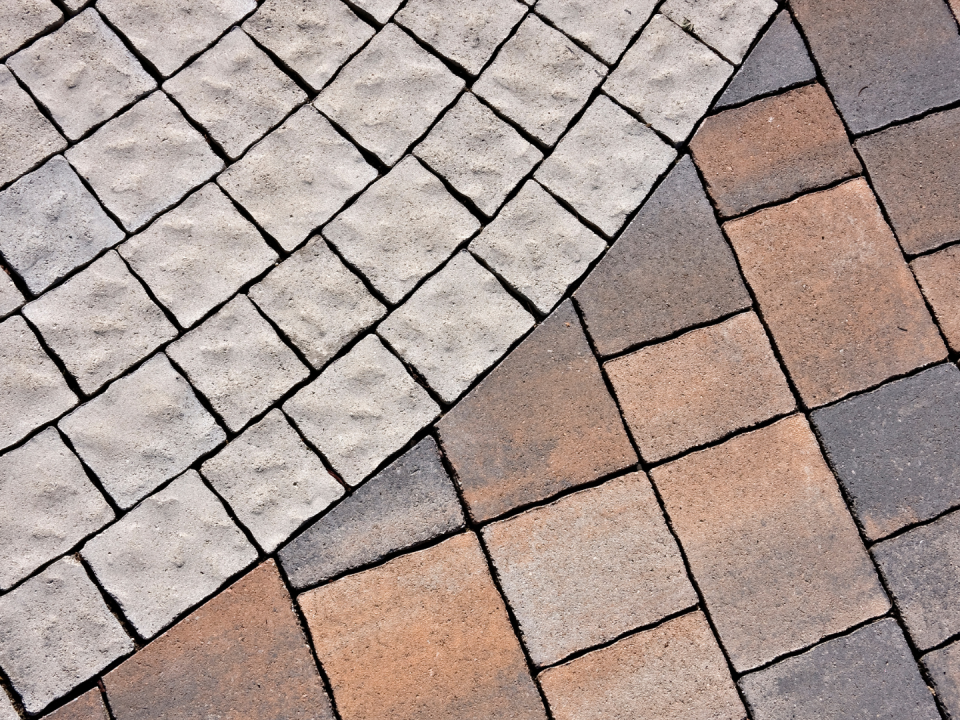
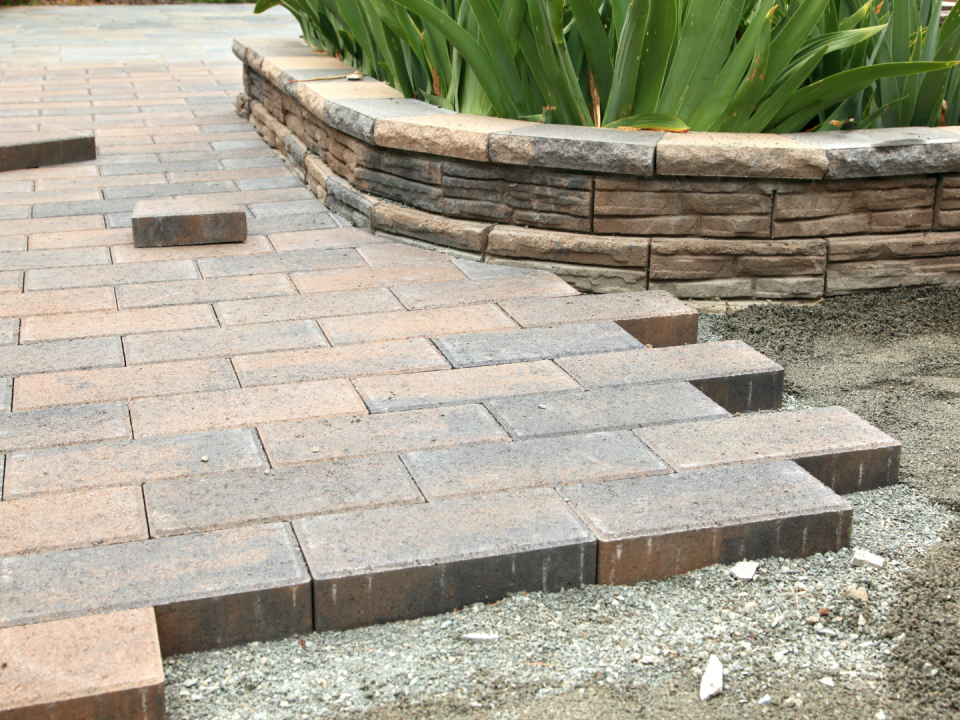
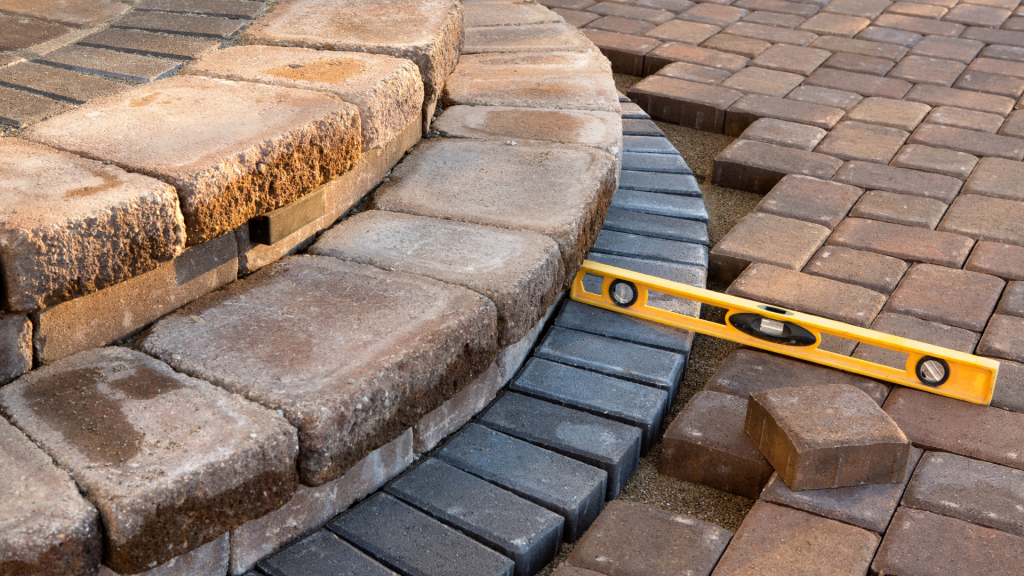
Finally, lay the pavers according to your chosen design, starting at one corner and working outward. Use spacers to maintain consistent gaps between the pavers and check for alignment regularly. Once all the pavers are in place, spread fine sand over the surface and sweep it into the joints. Compact the pavers gently to set them firmly in place, and add more sand as needed to fill the joints completely.
By following this step-by-step guide to proper preparation for pavers installation, you can create a stunning and durable outdoor feature that enhances the beauty and functionality of your property. Investing time in proper planning and preparation ensures that your pavers installation project will withstand the test of time.