


Installing pavers is a great way to enhance the appearance and functionality of your outdoor space. Whether you’re planning a new patio, driveway, or walkway, a successful project begins with proper groundwork. This step-by-step guide to preparing your space for pavers installation outlines the essential preparations that ensure long-lasting, visually appealing results. Taking the time to plan and prepare can make all the difference in the final outcome.
Step-by-Step Guide to Preparing Your Space for Pavers Installation: Evaluate and Plan Your Project Area
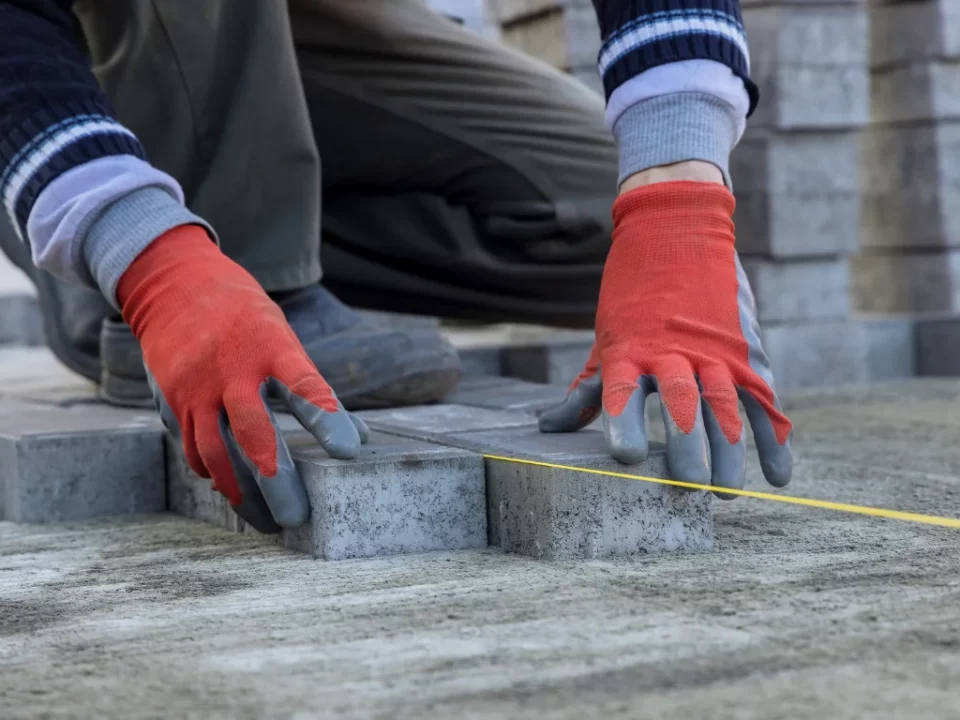
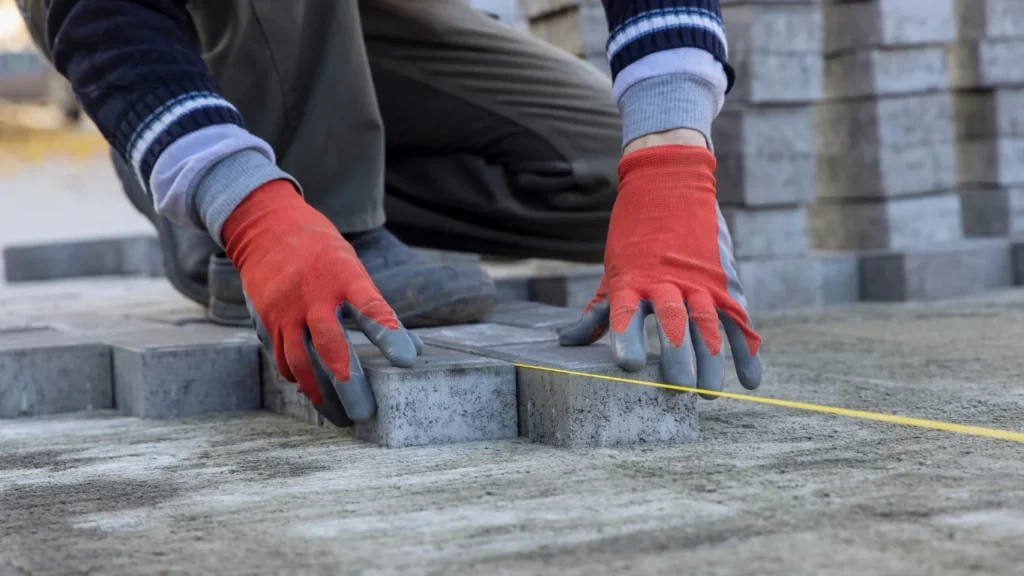
Before beginning any physical work, the first step in preparing your space for pavers installation is evaluating the area. Determine the size, shape, and layout of the space where the pavers will be installed. Mark the boundaries using stakes and string, ensuring straight lines and accurate measurements. Planning ahead also involves checking local building codes and securing any necessary permits.
Consider drainage and slope requirements, as proper water runoff prevents pooling and long-term damage. If needed, consult a professional to assess the site’s conditions. This early planning phase helps prevent problems later and ensures the area is suitable for a stable and secure installation.
Step-by-Step Guide to Preparing Your Space for Pavers Installation: Clear, Excavate, and Create a Solid Base
Once the layout is defined, the next step in the step-by-step guide to preparing your space for pavers installation is clearing the site. Remove all grass, plants, roots, rocks, and debris. Use a shovel or excavator to dig out the area to the appropriate depth—usually around six to eight inches for pedestrian use and deeper for driveways. The depth should account for the base material, sand layer, and the pavers themselves.
After excavation, it’s crucial to compact the soil using a plate compactor to create a firm foundation. Then, spread and level a layer of crushed stone or gravel, typically four to six inches deep, to act as the base. Compact the base thoroughly in layers to prevent future shifting or settling.
Next, add a layer of bedding sand, about one inch thick, which provides a smooth surface for the pavers to rest on. Screed the sand evenly to create a level surface.
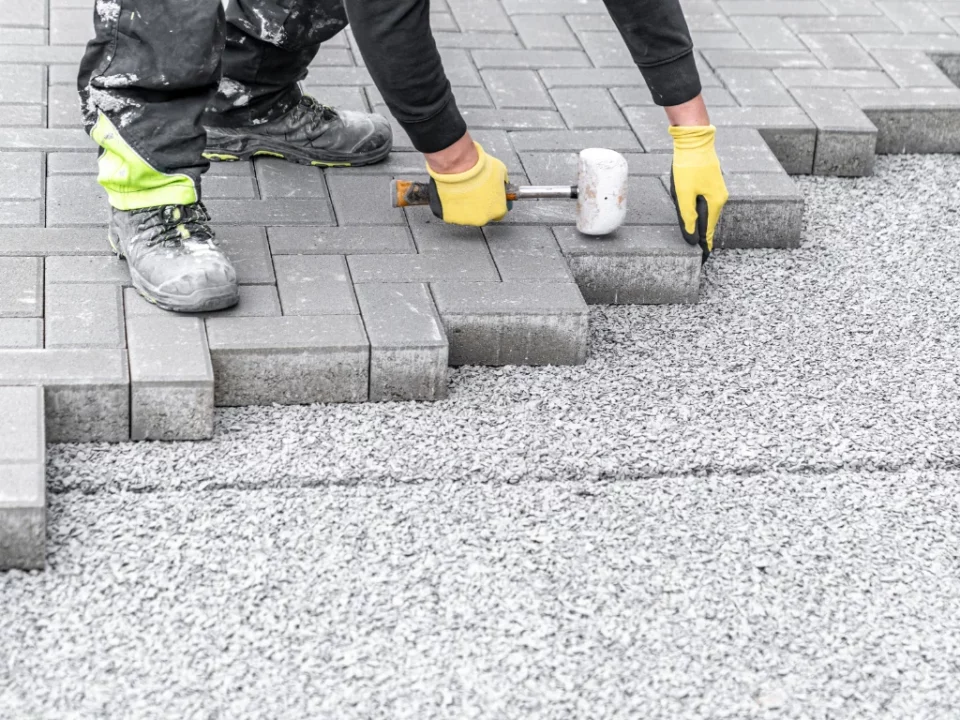
At this point, you’re ready to begin laying the pavers, but final preparation includes having all tools and materials on hand. Double-check measurements, and make sure your layout lines are still accurate. Following this step-by-step guide to preparing your space for pavers installation ensures a smooth process from beginning to end.
Proper preparation not only makes installation easier but also contributes to the durability and appearance of your paver surface. Investing time in this early phase sets the stage for a professional-looking finish that enhances your outdoor space for years to come.
