Pavers Installation Preparation: What You Need to Know Before You Start
Before you begin installing pavers in your outdoor space, proper preparation is essential to ensure a long-lasting and visually appealing result. Pavers are a popular choice for patios, driveways, and walkways, but achieving a professional finish requires more than just laying them down. In this article, we’ll explore pavers installation preparation, covering everything you need to know before you start the project.
Why Pavers Installation Preparation Matters
Pavers may seem simple to install, but the foundation and ground preparation are what make the difference between a durable, stable surface and one that will shift or crack over time. Proper preparation ensures that the pavers remain secure, level, and well-aligned, even through heavy traffic or adverse weather conditions. Without the right base, your pavers may sink, shift, or become uneven.
One of the most important factors in pavers installation preparation is assessing the ground. The area where you plan to lay the pavers must be free of debris, such as rocks, weeds, and grass. Additionally, you’ll need to make sure the surface is level and has the proper slope for drainage. Water pooling between the pavers can lead to long-term damage, so ensuring proper drainage is a key part of the preparation process.
Essential Elements of Pavers Installation Preparation
Once you’ve assessed the site and cleared it of debris, the next step in pavers installation preparation is creating a solid foundation. A well-prepared base will provide stability and help your pavers stay in place for many years. Start by digging out the area to the appropriate depth, which usually ranges from 4 to 6 inches depending on the size of the pavers and the weight they will bear.
The next layer is crucial: compacted gravel or crushed stone. This forms the primary foundation of your pavers and provides excellent drainage. Spread the gravel evenly over the area, and use a plate compactor or hand tamper to compact it down tightly. This layer ensures that your pavers won’t settle or shift as time goes on.
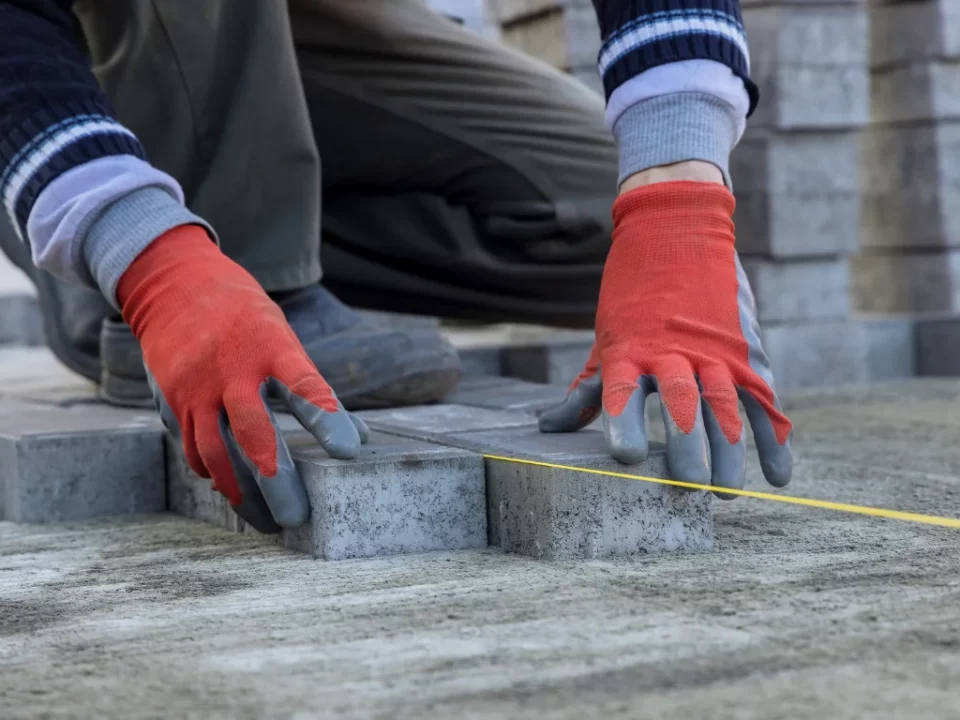
After the gravel base is compacted, it’s time to add a layer of sand. The sand will create a smooth and level surface for the pavers to rest on. Rake the sand evenly and ensure it’s at the proper height. Once the sand is in place, use a straight board or level to smooth and check for any uneven areas. This step is critical for ensuring your pavers lay flat and level, which is essential for both the look and function of the finished surface.
Final Thoughts on Pavers Installation Preparation
Pavers installation preparation is a critical aspect of the project that should not be overlooked. The time and effort you invest in clearing, leveling, and creating a solid base will pay off in the durability and stability of your pavers. By following these essential preparation steps, you ensure that your pavers will not only look great but will also withstand the test of time and provide a functional, long-lasting surface.
Read More:
The Importance of Proper Preparation in Successful Pavers Installation
How to Get Your Site Ready for Pavers Installation: Expert Tips


