

Adding pavers to your outdoor space is a great way to enhance curb appeal and create a functional, long-lasting surface. Whether you’re installing a patio, driveway, or walkway, proper preparation is essential for achieving a durable and beautiful finish. Without the right groundwork, pavers may shift, sink, or become uneven over time. Understanding the key steps in pavers installation preparation ensures a stable foundation that will stand the test of time.
Pavers Installation Preparation: How to Build a Strong and Lasting Foundation
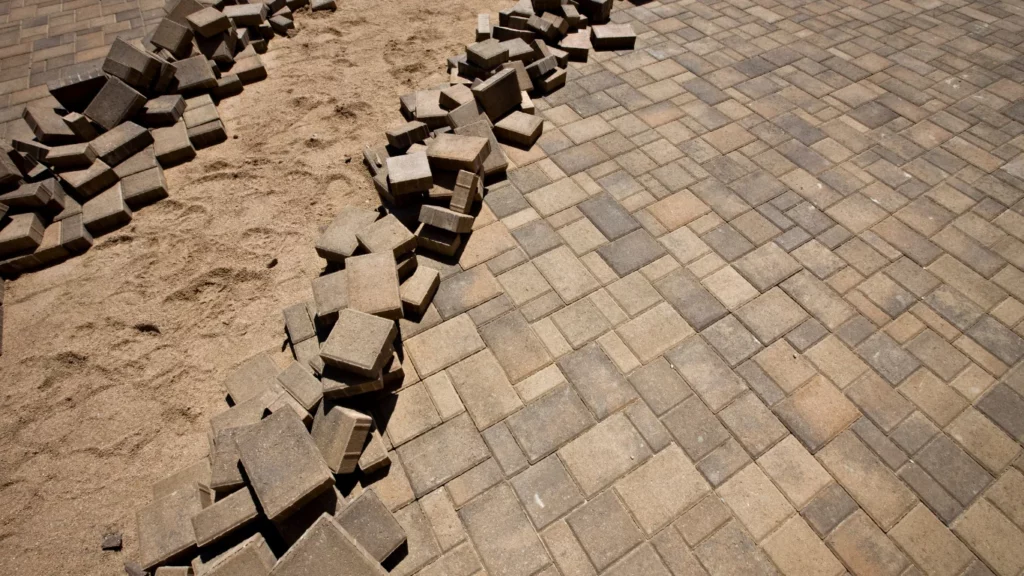
The first step in pavers installation preparation is planning the layout. Clearly define the area where the pavers will go and measure the space accurately. Mark the boundaries with stakes and string to create a visual guide. It’s important to check for any slopes or drainage issues to ensure water flows away from your home or structures, preventing potential damage.
Excavation is the next critical step. Digging to the proper depth allows room for the base material and ensures stability. The depth depends on the type of pavers and the load the surface will bear. For walkways, a depth of 6 to 8 inches is usually sufficient, while driveways require at least 10 to 12 inches. Removing all grass, roots, and debris from the area prevents future shifting and sinking.
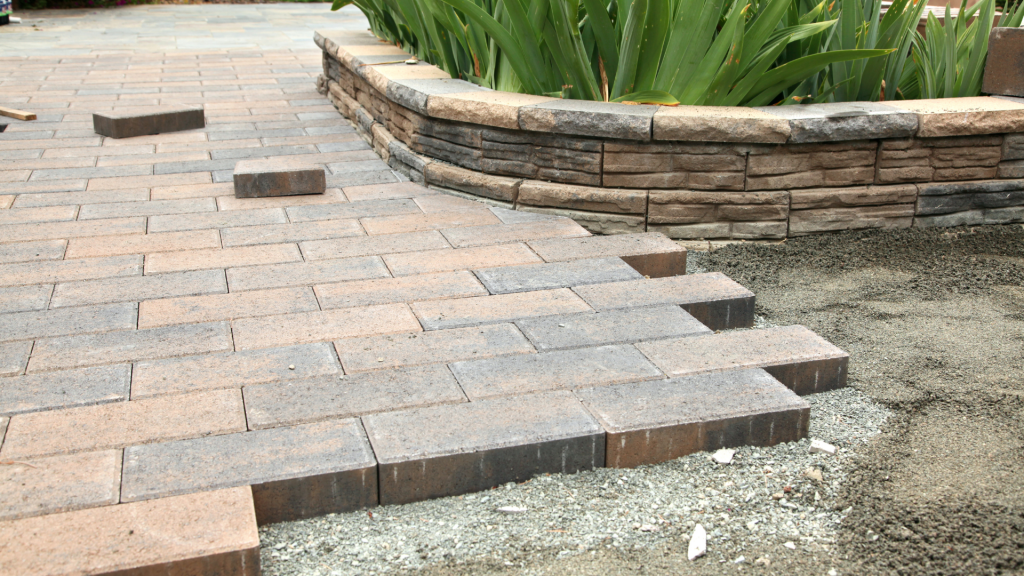
A solid base layer is crucial for supporting the pavers. Crushed stone or gravel is commonly used as a base material because it provides excellent drainage and prevents settling. Spread the base evenly and compact it using a plate compactor to create a firm, level surface. Adding a layer of sand on top of the compacted base helps with proper paver placement and keeps them from shifting over time.
Key Steps for a Durable and Beautiful Finish in Pavers Installation Preparation
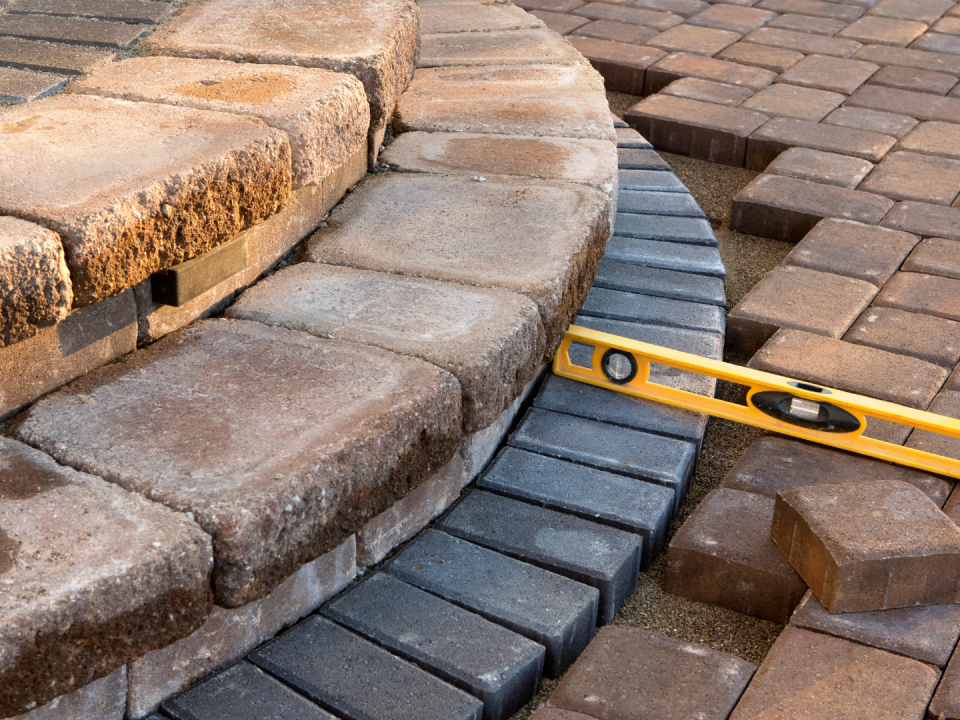
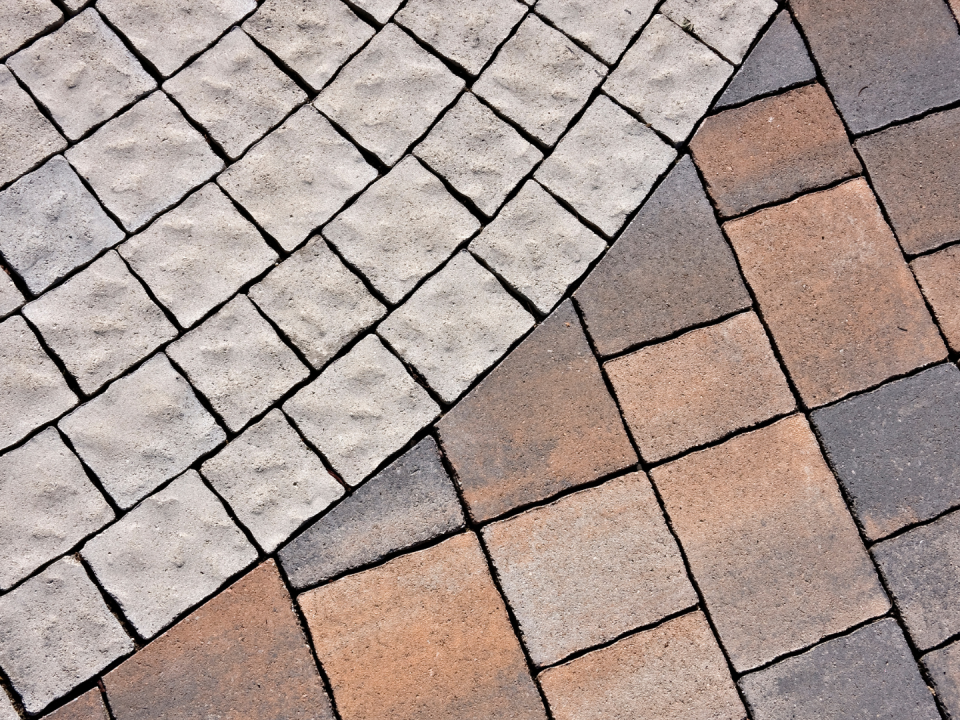
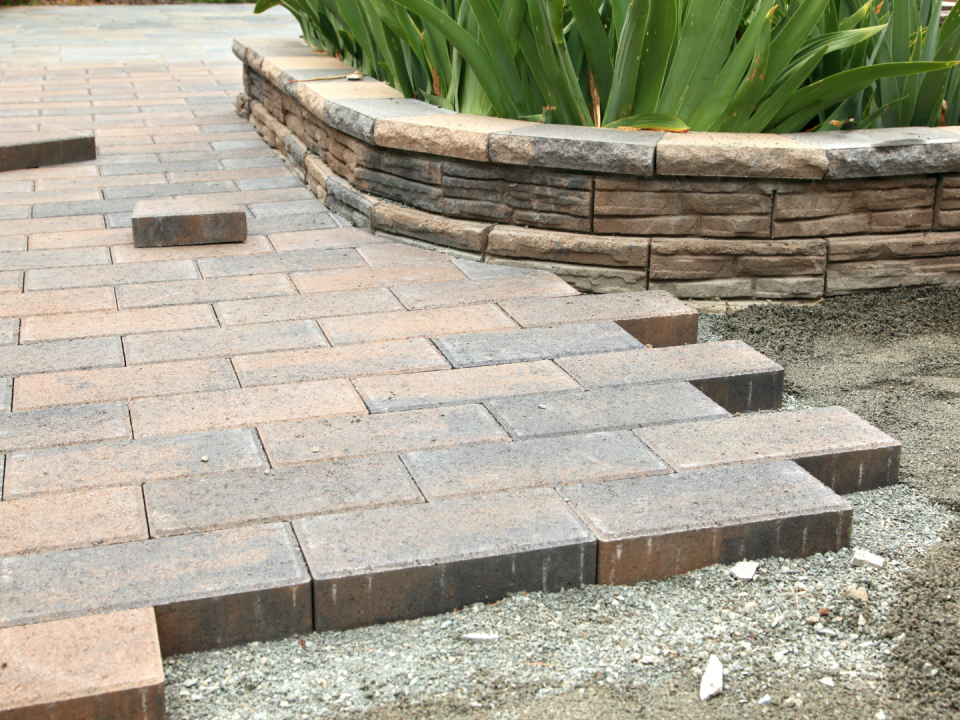
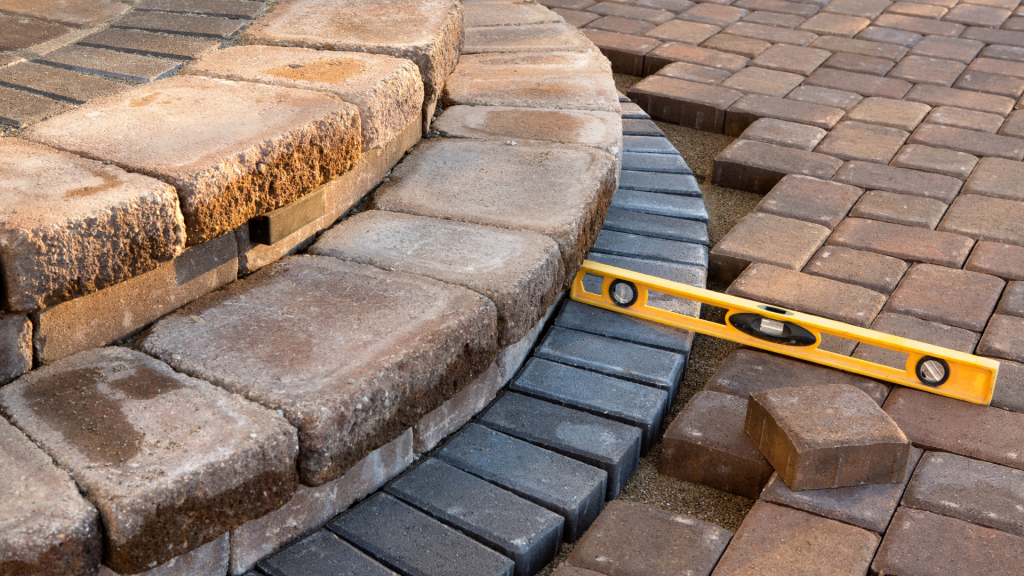
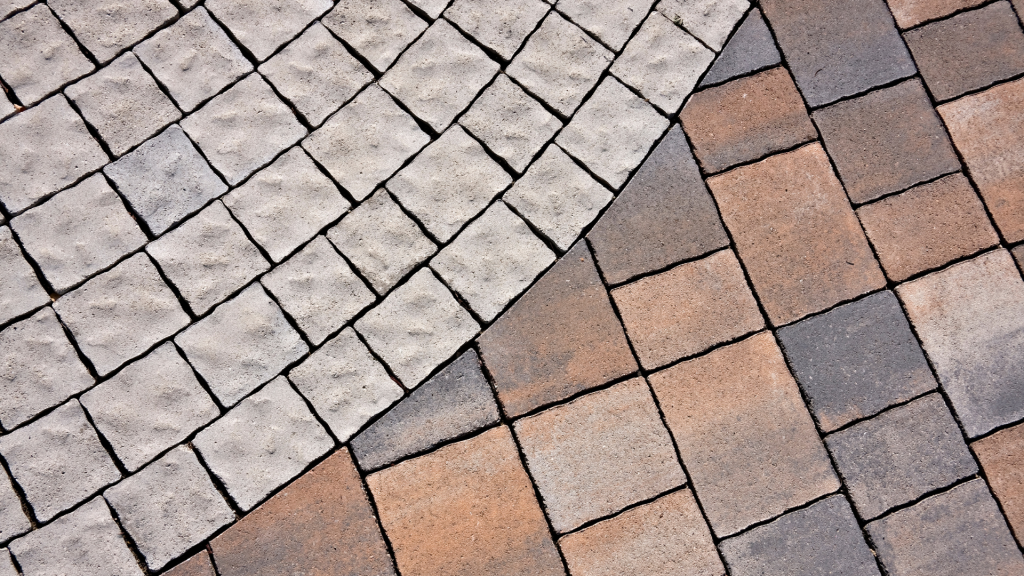
Once the base is properly compacted, laying the pavers in the desired pattern can begin. Carefully placing each paver according to the design ensures a consistent look. Using a rubber mallet helps adjust pavers without causing damage. It’s essential to maintain even spacing between the pavers for a uniform appearance and to allow room for joint sand.
After placing the pavers, locking them in place is the final step. Polymeric sand is often used to fill the joints between pavers, preventing weed growth and reducing movement. Sweeping the sand into the joints and compacting the pavers again helps achieve a secure bond. Lightly misting the surface with water activates the sand and solidifies the installation.
Sealing the pavers enhances their durability and appearance. A quality sealant protects against stains, weather damage, and fading while bringing out the natural color of the material. Regular maintenance, such as sweeping debris and reapplying sand when needed, keeps the surface looking beautiful for years.
Proper pavers installation preparation ensures that the finished project remains strong, level, and visually appealing. By following these key steps, homeowners can create a durable and beautiful outdoor space that enhances their property’s value and functionality.