


Installing pavers is a popular choice for enhancing outdoor spaces with attractive and durable surfaces. Whether you’re planning a new patio, walkway, or driveway, the key to a successful project lies in the preparation phase. Proper site preparation is essential to ensure your pavers last for years without shifting, cracking, or settling unevenly. This pavers installation guide will walk you through the crucial steps of preparing your site to achieve lasting results.
Pavers Installation Guide: Why Proper Site Preparation Is Critical
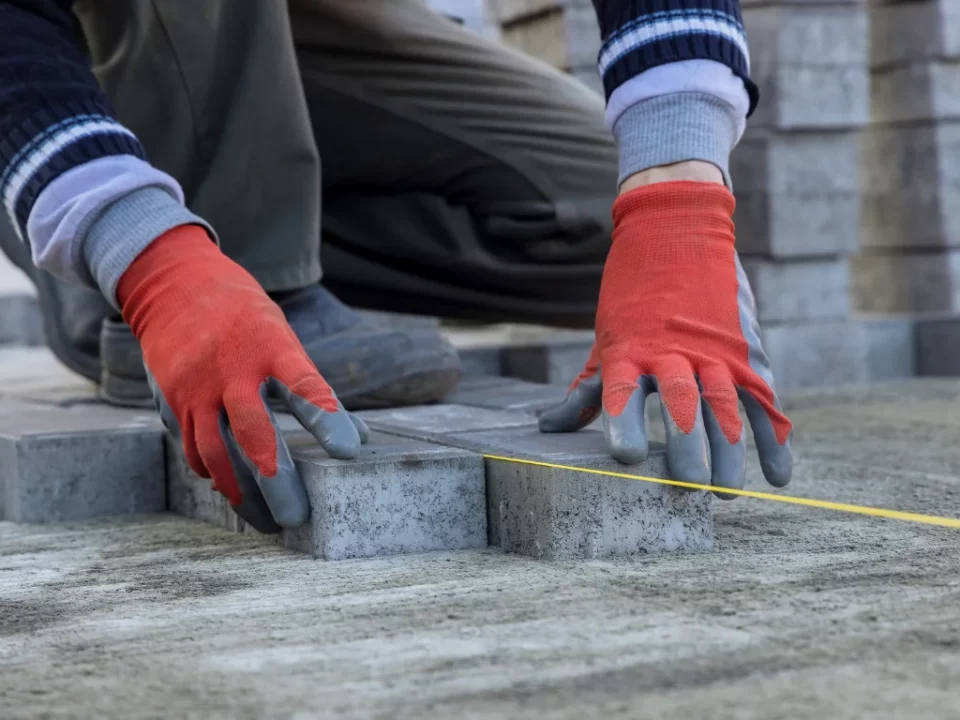
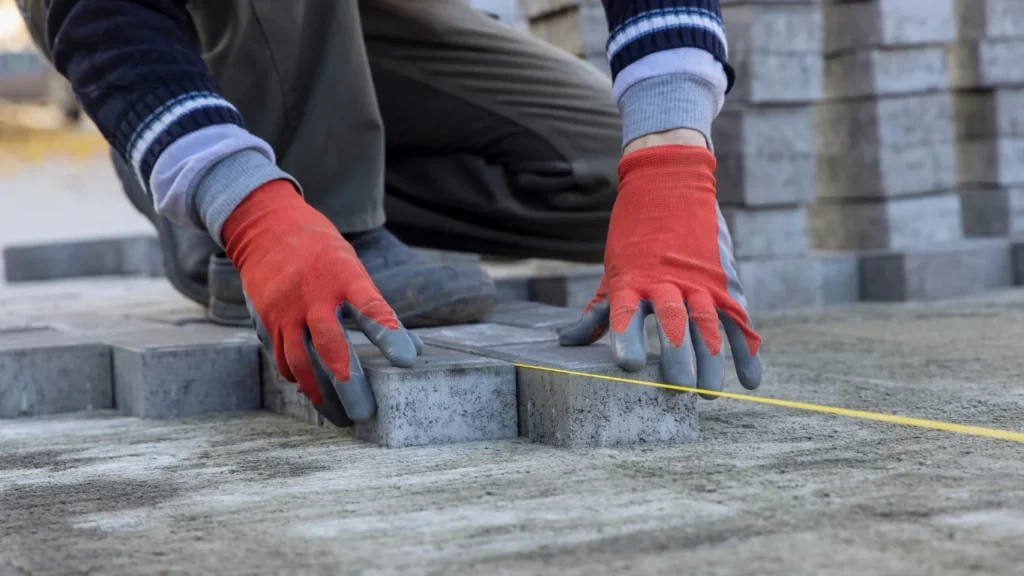
Proper site preparation is the foundation for any pavers installation. It involves more than just clearing the area—it requires careful planning and execution to create a stable base. The first step is to evaluate and measure the area where the pavers will be installed. Checking the slope and drainage patterns ensures that water flows away from your home or other structures, preventing future water damage.
Next, the area must be excavated to the appropriate depth. This depth depends on the type of pavers being used and the expected traffic on the surface. Excavating the site to the right depth allows space for the base materials that support the pavers. Removing vegetation, roots, and debris is important to avoid uneven settling later on.
Compaction is a vital step in the site preparation process. A compacted base prevents the pavers from shifting or sinking over time. Using a mechanical plate compactor to firmly pack down the soil and base materials ensures a strong foundation. This step is crucial for achieving lasting results and maintaining a level surface.
Pavers Installation Guide: Materials and Techniques for Durable Results
After excavation and compaction, the next part of proper site preparation involves layering the right materials. Typically, a base layer of crushed stone or gravel is spread evenly across the excavated area. This layer provides excellent drainage and support for the pavers. The gravel should be compacted thoroughly before moving on to the next step.
On top of the gravel base, a layer of coarse sand is spread and leveled. This sand bed acts as a cushion and helps lock the pavers in place. It also allows for slight adjustments during installation to achieve a uniform surface. Avoid using fine sand, as it can cause pavers to shift and create an unstable surface.
Having the right tools during site preparation makes the process smoother and more efficient. Essential tools include a shovel, rake, plate compactor, and a level to keep everything even. String lines can also help maintain straight edges and consistent height.
Taking time to follow this pavers installation guide ensures your project will stand the test of time. Proper site preparation prevents common issues such as cracking, uneven surfaces, and water pooling. By focusing on these foundational steps, you set the stage for a beautiful and durable paved area that enhances your outdoor living space for years to come.
Read More:
Top Preparation Tips to Ensure a Smooth Pavers Installation Process
Pavers Installation Preparation: What Homeowners Need to Know
