

Pavers are an excellent choice for enhancing the aesthetics and functionality of your property, whether you’re installing a new driveway, patio, or walkway. However, to achieve a long-lasting, professional finish, it’s essential to properly prepare your property. Knowing how to prepare your property for pavers installation is key to ensuring that your outdoor space looks great and remains durable for years to come. This complete guide will walk you through the essential steps to get your property ready for a smooth, successful pavers installation.
Assessing the Site and Planning the Layout
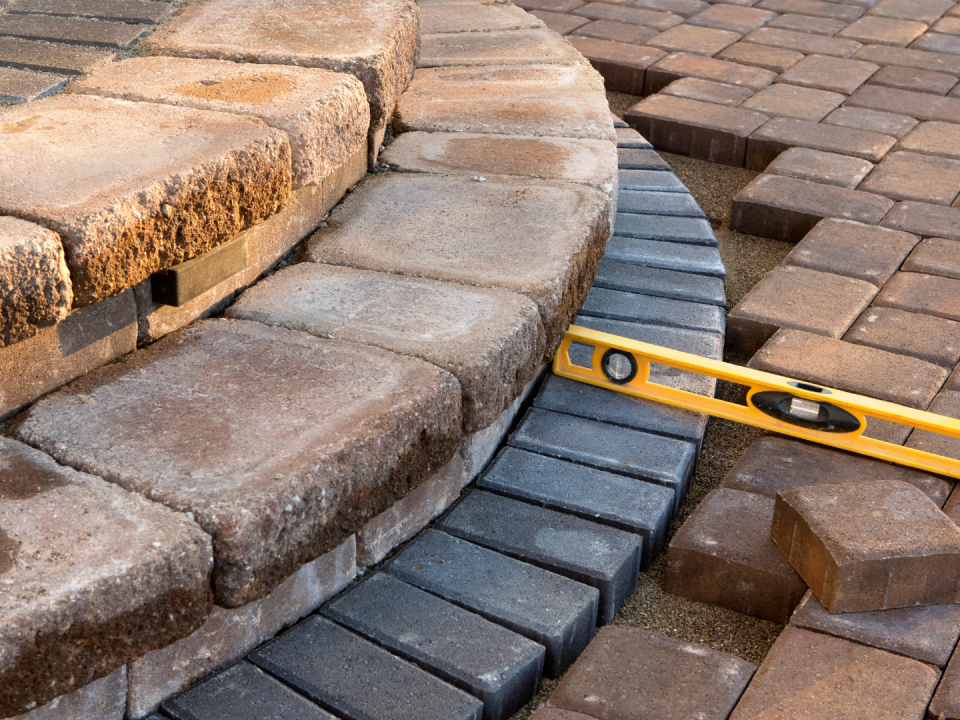
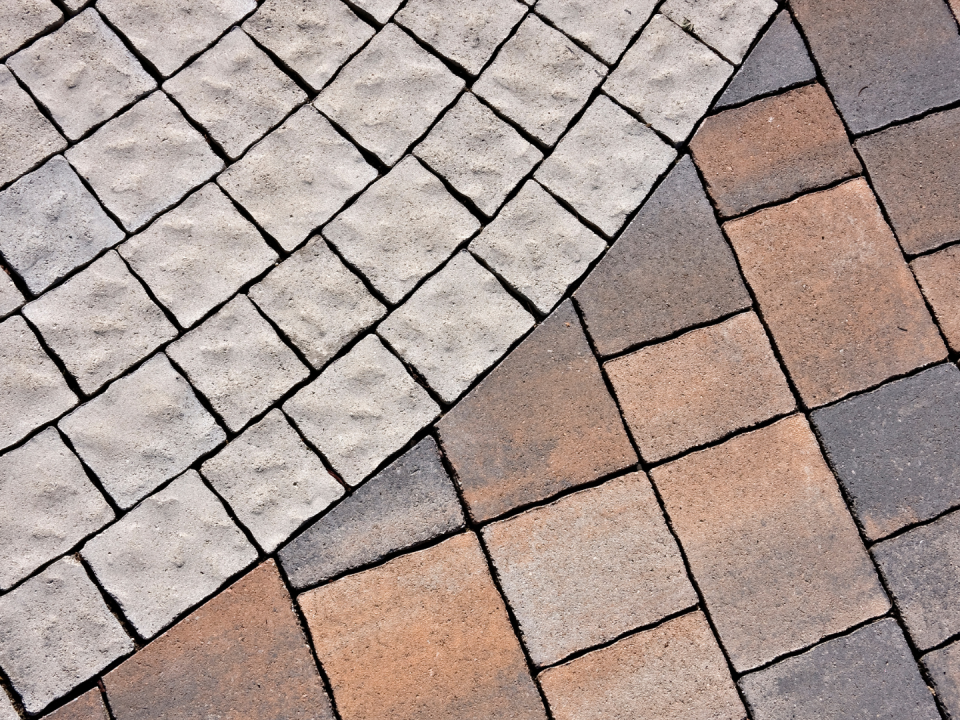
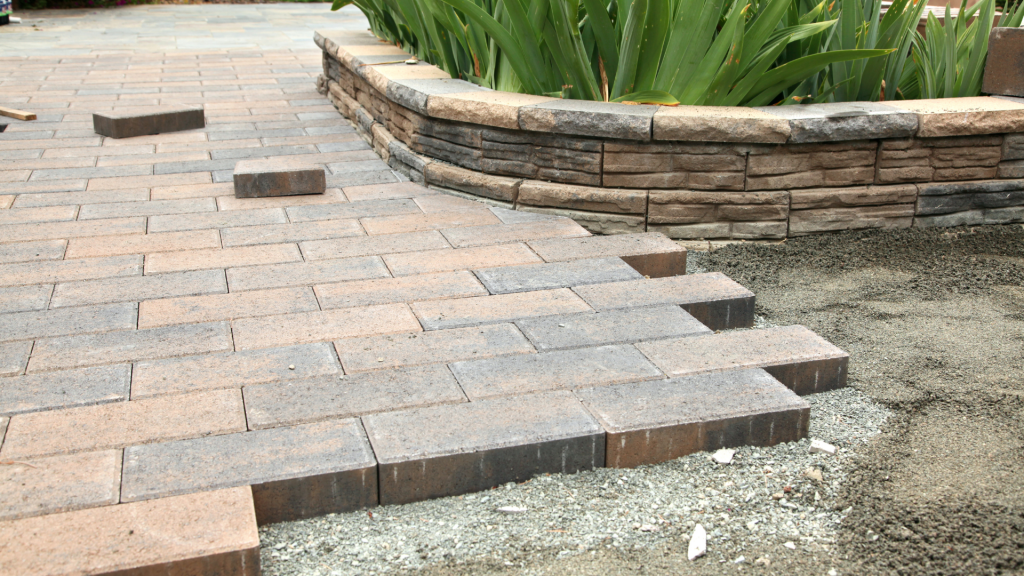
The first step in how to prepare your property for pavers installation is assessing the area and planning the layout. Before any physical work begins, carefully evaluate the site where the pavers will be installed. Measure and mark the area to determine the exact size and shape. It’s essential to plan the layout to ensure that the pavers fit seamlessly into your desired design. Decide on the pattern you want to use, such as herringbone, basket weave, or running bond, as the pattern can affect how the pavers fit together.
Consider the purpose of the paved area. If you’re laying pavers for a driveway, ensure that the area is wide enough for vehicle traffic. For a patio or walkway, consider how many people will be using the space at once. You may also want to incorporate features like curves or borders to create visual interest. Taking time to plan and layout the pavers properly will make the installation process more efficient and give your property a polished look.
Clearing the Area and Preparing the Base
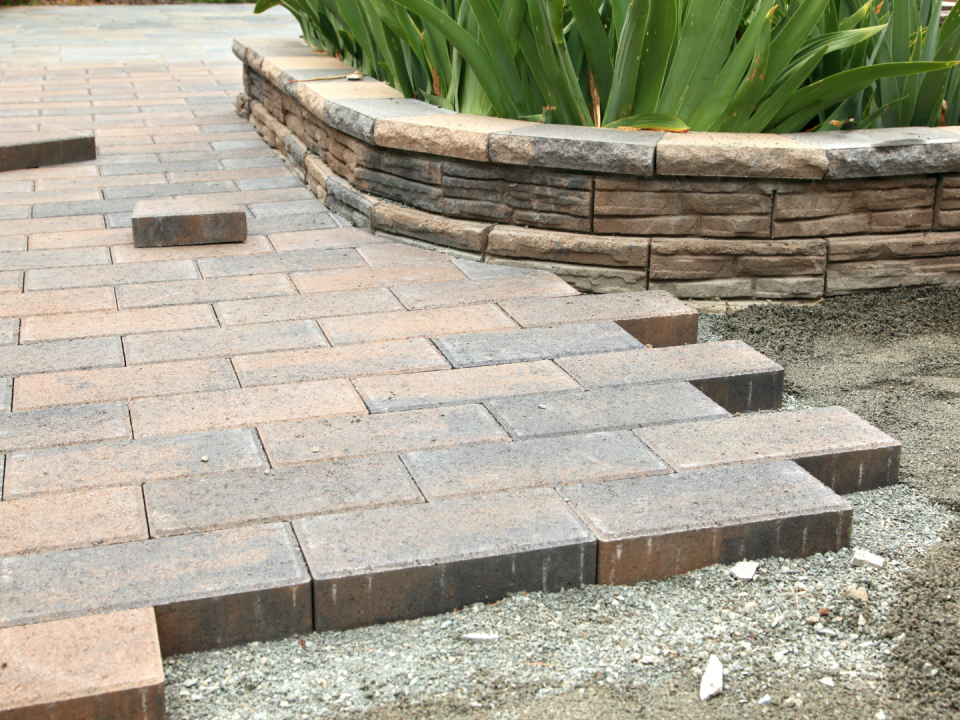
Once the layout is planned, the next critical step in how to prepare your property for pavers installation is clearing the area and preparing the base. Begin by removing any existing grass, plants, rocks, or debris from the site. If you are replacing an old surface, such as concrete or asphalt, make sure to remove it entirely. A clean and clear surface is essential for creating a stable foundation for your pavers.
Next, you will need to grade and level the ground. It’s important to ensure that the area is slightly sloped for proper drainage. Water that accumulates between the pavers can cause them to shift and crack over time. Use a shovel or rake to level the ground, and if necessary, add or remove soil to achieve the desired slope. A slight slope, usually about 1 inch for every 4 feet, is ideal to help water flow off the paved surface.
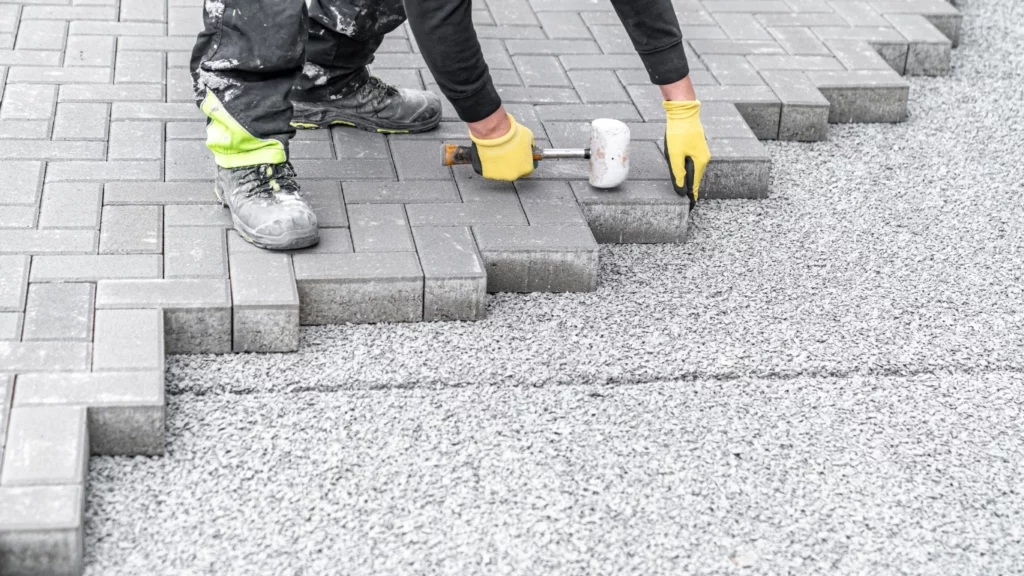
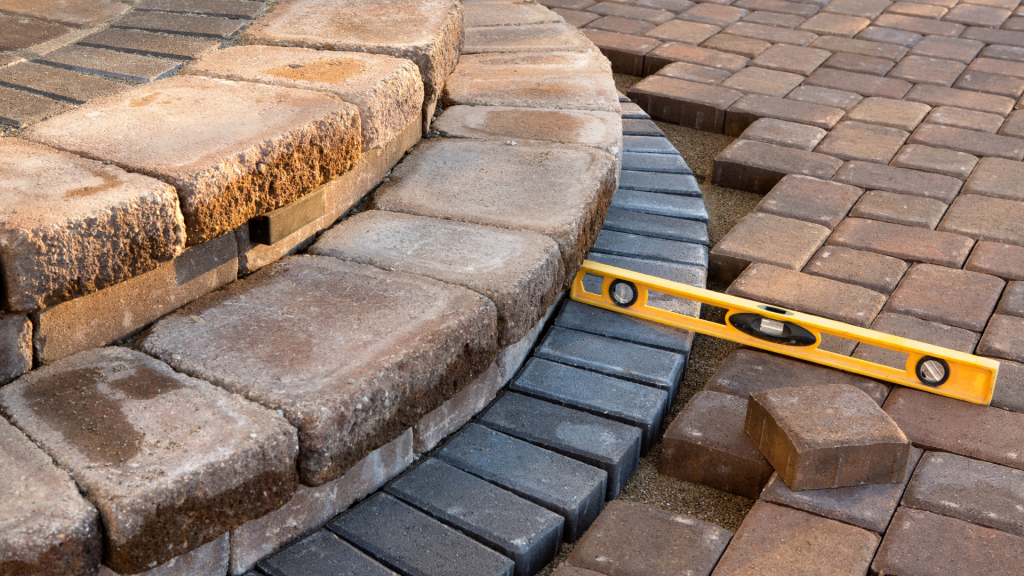
Once the ground is leveled, it’s time to lay down a base layer. This typically involves compacting a layer of crushed stone or gravel to create a firm, stable foundation. The base layer should be around 3-4 inches thick. After spreading the gravel, use a mechanical compactor to compact it firmly. This step is crucial for preventing shifting and settling of the pavers over time.
After compacting the base layer, spread a layer of sand (about 1 inch thick) over the gravel to help set the pavers in place. Rake the sand evenly and lightly compact it. This layer will help fill in any small gaps and provide a smooth surface for the pavers to rest on.
Preparing your property properly is vital to achieving a successful pavers installation. By assessing the site, planning the layout, and ensuring a solid base foundation, you’re setting the stage for a durable, attractive paved surface. Following these steps on how to prepare your property for pavers installation will ensure that your outdoor space looks great and stands the test of time.
Read More:
The Ultimate Guide to Preparing Your Space for Pavers Installation
Essential Preparation Tips for a Successful Pavers Installation