

Installing pavers is an excellent way to enhance the aesthetics and functionality of your outdoor space. However, like any construction project, a successful pavers installation requires careful planning and preparation. By following essential preparation tips for a successful pavers installation, you can ensure that your new driveway, walkway, or patio lasts for years and looks stunning. The key lies in proper planning, the right materials, and executing the installation with precision.
Choosing the Right Materials for Your Pavers Installation
One of the first essential preparation tips for a successful pavers installation is selecting the right materials. Pavers come in a variety of shapes, sizes, and materials such as concrete, natural stone, and clay, each offering unique benefits. When choosing your pavers, consider factors like the aesthetic you’re aiming for, the durability required for the area, and the climate in your region. For instance, concrete pavers are versatile and durable, making them a popular choice for driveways and patios. On the other hand, natural stone pavers, such as granite or slate, provide a sophisticated look ideal for outdoor spaces with a high-end design.
In addition to the pavers themselves, ensure that you select quality base materials. A stable base is essential for preventing shifting and settling over time. This typically includes crushed stone or gravel, which helps with drainage and provides a solid foundation. Make sure the base materials are compacted properly for a long-lasting and stable installation.
Preparing the Site for Pavers Installation
The next crucial step in essential preparation tips for a successful pavers installation is preparing the installation site. Proper site preparation is critical for ensuring the longevity and stability of the pavers. Start by measuring and marking the area where the pavers will be installed. It’s important to ensure that the area is level and that there is proper drainage. If the ground has uneven spots or is sloped, it may need to be leveled or graded before beginning the installation. Proper drainage is vital to prevent water from collecting between the pavers, which could cause them to shift or crack over time.
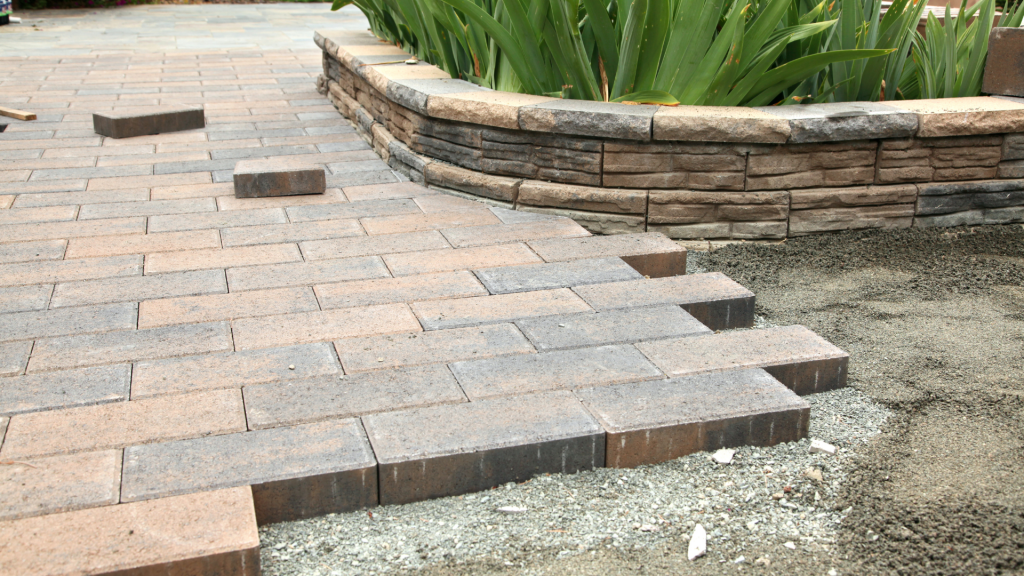
Once the site is marked, begin removing any existing grass, weeds, or debris. Clear the area down to the soil, ensuring that it is free from any obstructions that could affect the pavers’ placement. You may also need to remove any old paving or concrete surfaces if you’re replacing an existing pathway or driveway. Next, create a compacted base layer of crushed gravel or stone, ensuring that the material is level and smooth. This layer should be approximately 3-4 inches deep, depending on the size of the pavers and the intended use of the space.
After laying the base material, you’ll need to add a layer of sand to help set the pavers in place. This sand layer should be about 1 inch thick. Use a rake to spread the sand evenly, and a tamper to compact it. The sand will fill the gaps between the base materials, making a firm foundation for the pavers.
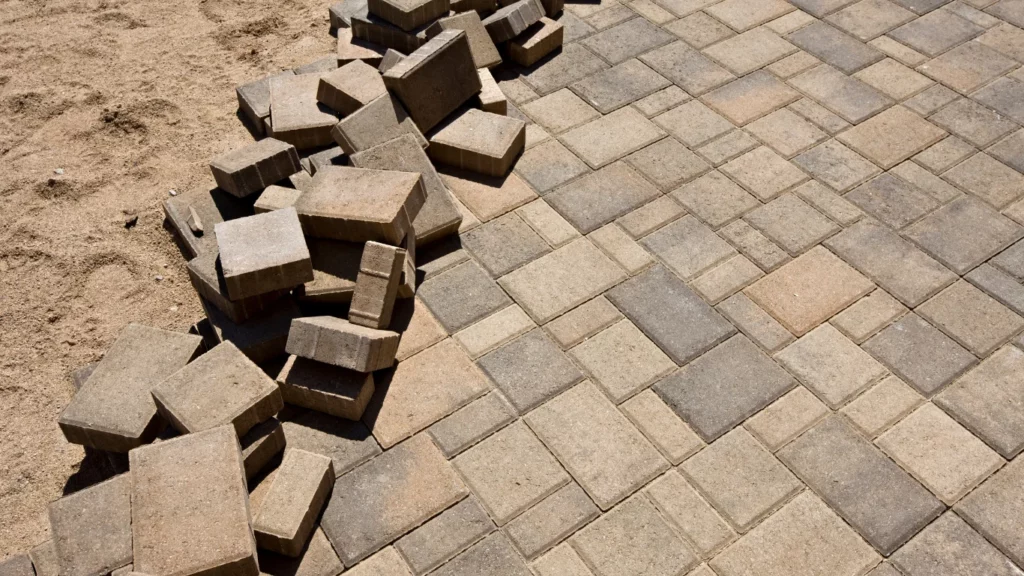
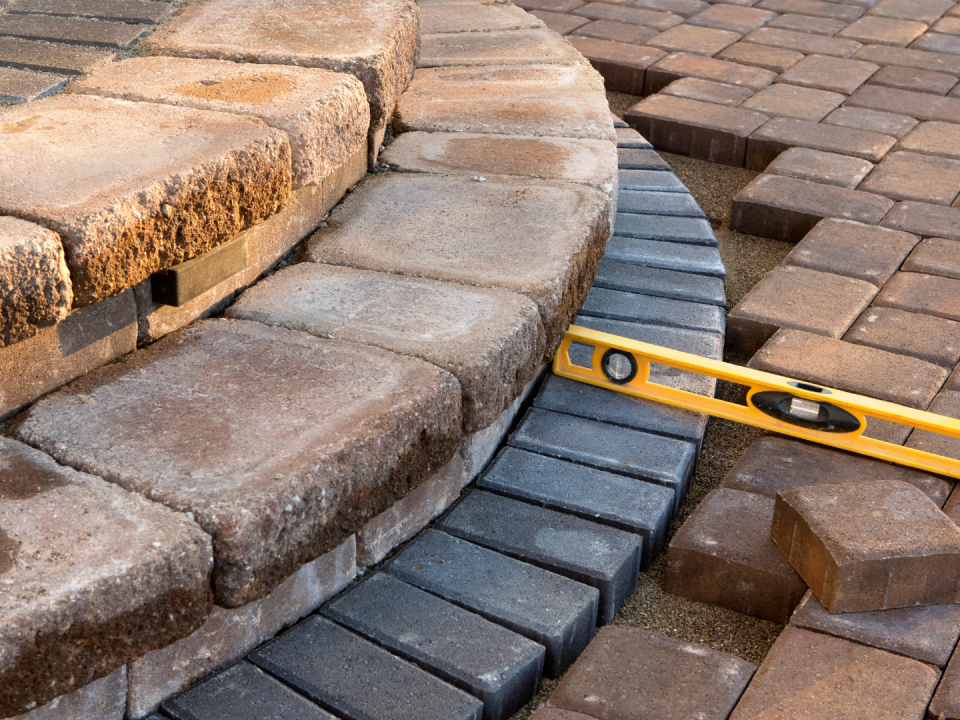
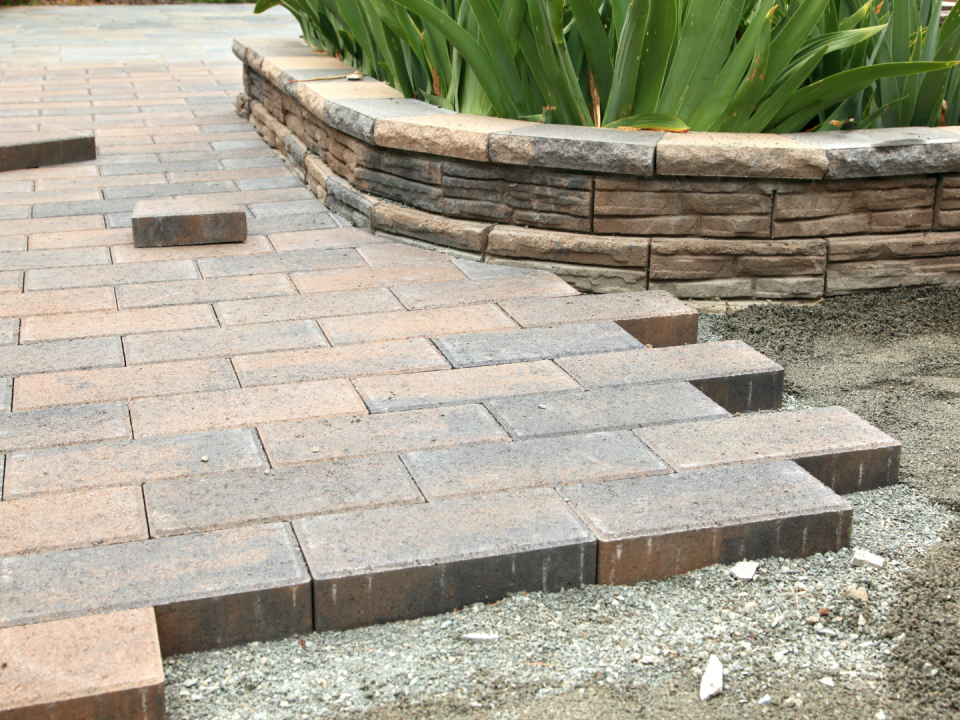
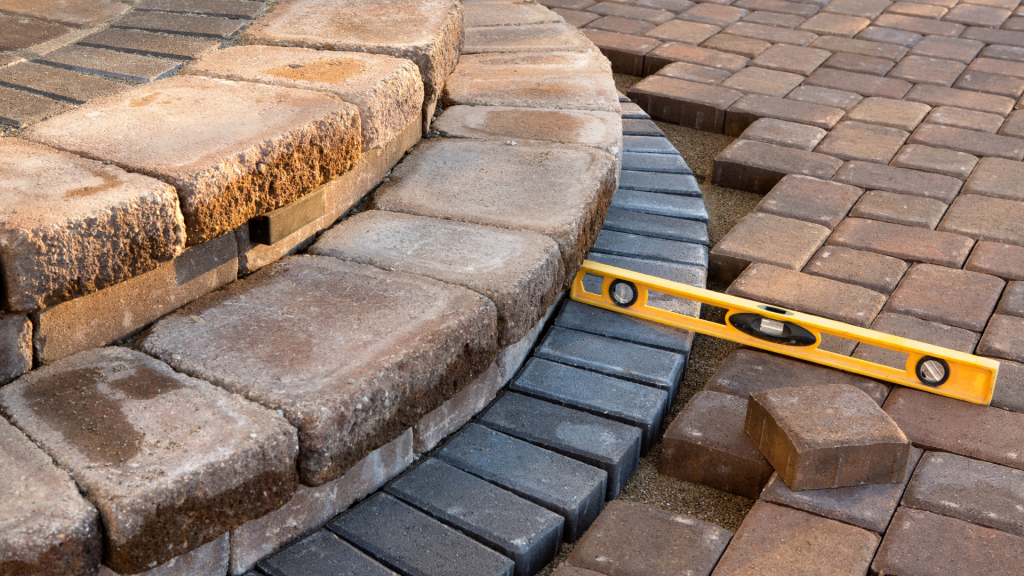
With your site prepared and materials ready, you are set to begin laying your pavers. Make sure to follow a pattern that complements your outdoor design. Whether you choose a herringbone, running bond, or basket weave pattern, consistency is key to a visually appealing result.
Proper planning, material selection, and site preparation are the pillars of a successful pavers installation. By following these essential preparation tips for a successful pavers installation, you will ensure that your outdoor area is both beautiful and durable for many years.
Read More:
How to Prepare Your Property for Pavers Installation: A Complete Guide
