

Preparing for a home painting project is essential for achieving professional-looking results. Whether you are refreshing a single room or giving your entire home a makeover, following a comprehensive checklist can ensure a smooth process from start to finish. The ultimate preparation checklist for home painting projects helps you stay organized and avoid common pitfalls that could derail your efforts. By carefully planning each step, you’ll be well on your way to creating a beautiful, long-lasting finish.
Gather the Right Tools and Supplies
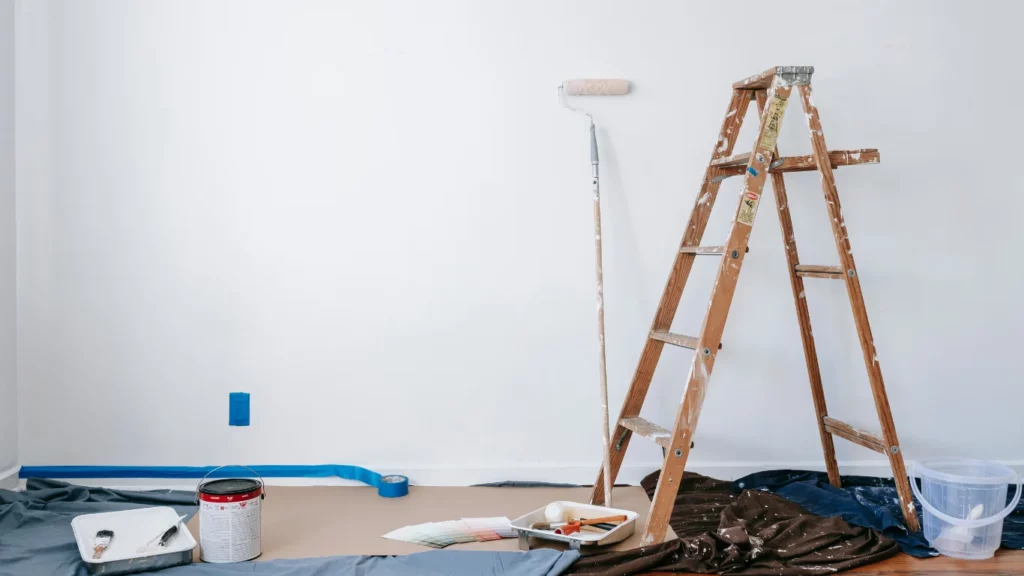
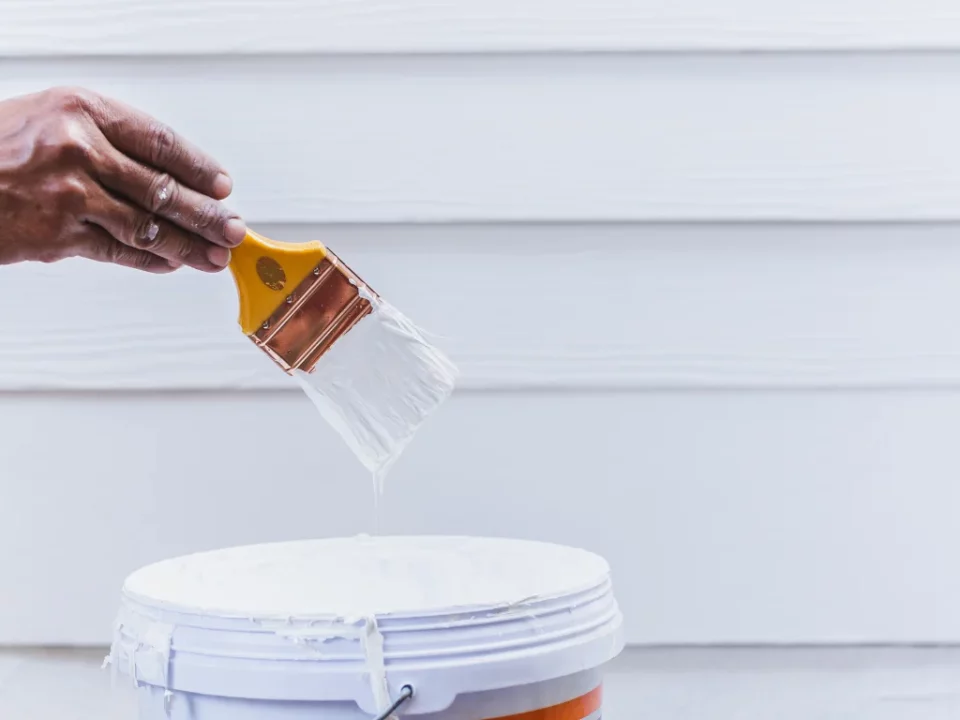
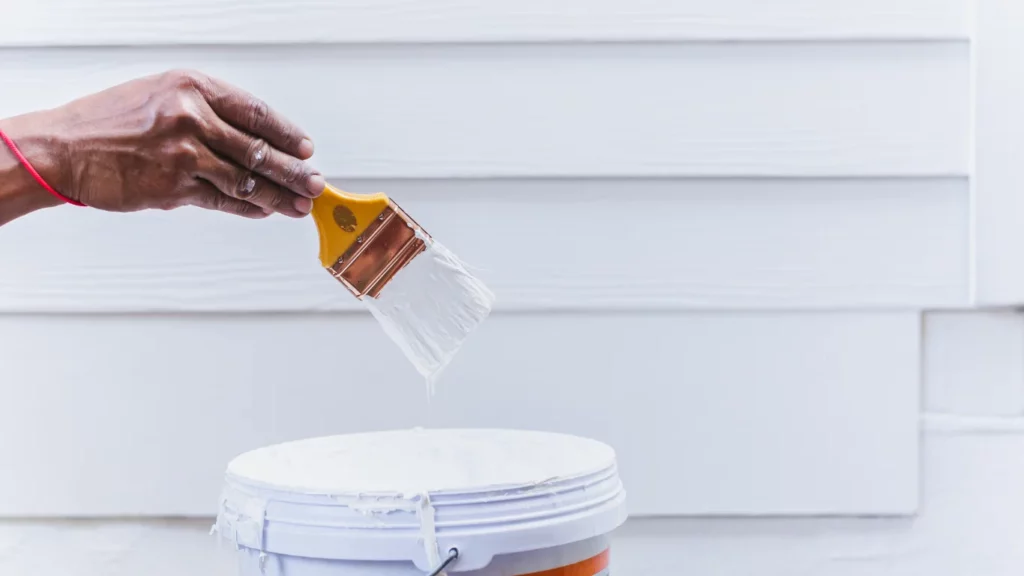
Before starting your painting project, it’s crucial to gather all the necessary tools and supplies. The ultimate preparation checklist for home painting projects begins with having everything on hand so you don’t have to pause halfway through to run to the store. Make sure you have high-quality brushes and rollers, drop cloths or plastic sheeting to protect your floors and furniture, painter’s tape for crisp lines, and paint trays.
You’ll also need cleaning supplies like soap, water, and a sponge to remove dirt, dust, and cobwebs from surfaces. Choosing the right paint is key as well. Consider the room’s function when selecting paint types. For example, washable finishes are perfect for kitchens and bathrooms, while matte finishes work well in bedrooms and living areas. Don’t forget to buy the correct primer, especially for new surfaces or if you’re making a dramatic color change.
Prepare the Surface and Surrounding Areas
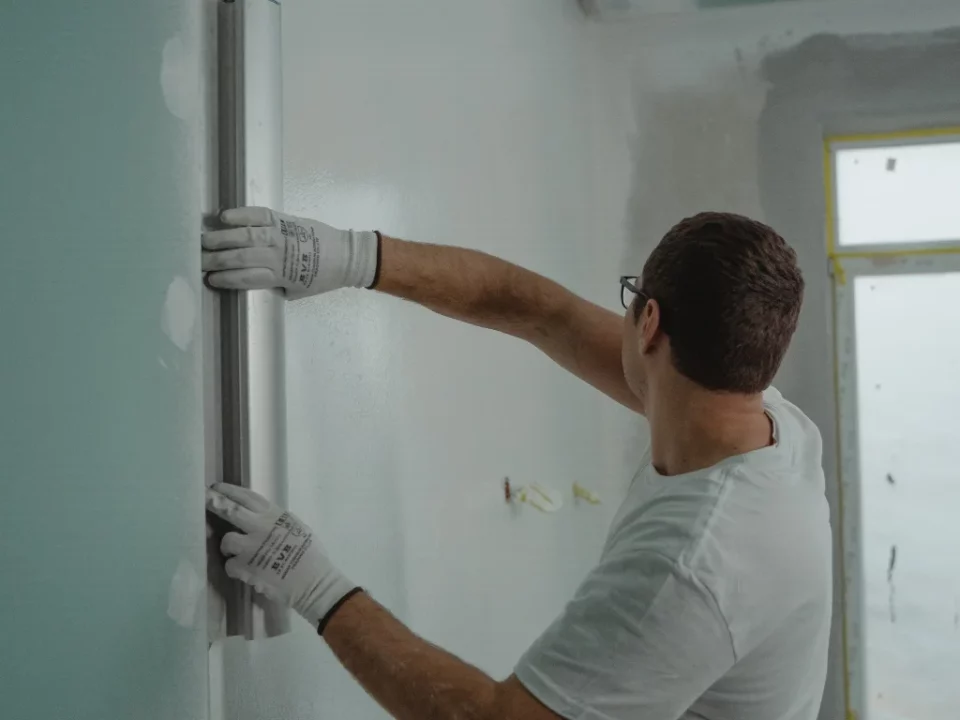
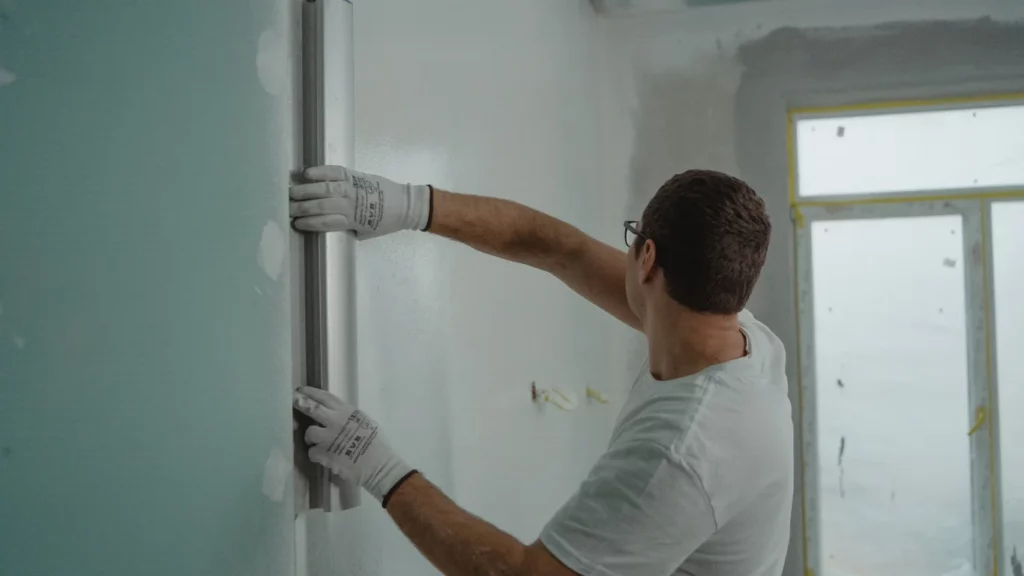
Proper surface preparation is essential to ensure the paint adheres properly and provides a smooth finish. This step is an essential part of the ultimate preparation checklist for home painting projects. Start by cleaning the walls, as dirt, grease, and grime can interfere with the paint’s ability to stick. Use a sponge or cloth with mild detergent and water to scrub the surfaces gently.
Next, patch up any holes or cracks with spackle or caulk. Once the patches have dried, sand the surface smooth to create an even texture. If you are painting over a glossy surface, lightly sand the area to allow the new paint to bond better. Additionally, take time to remove any outlet covers, light switch plates, and hardware that may be in the way.
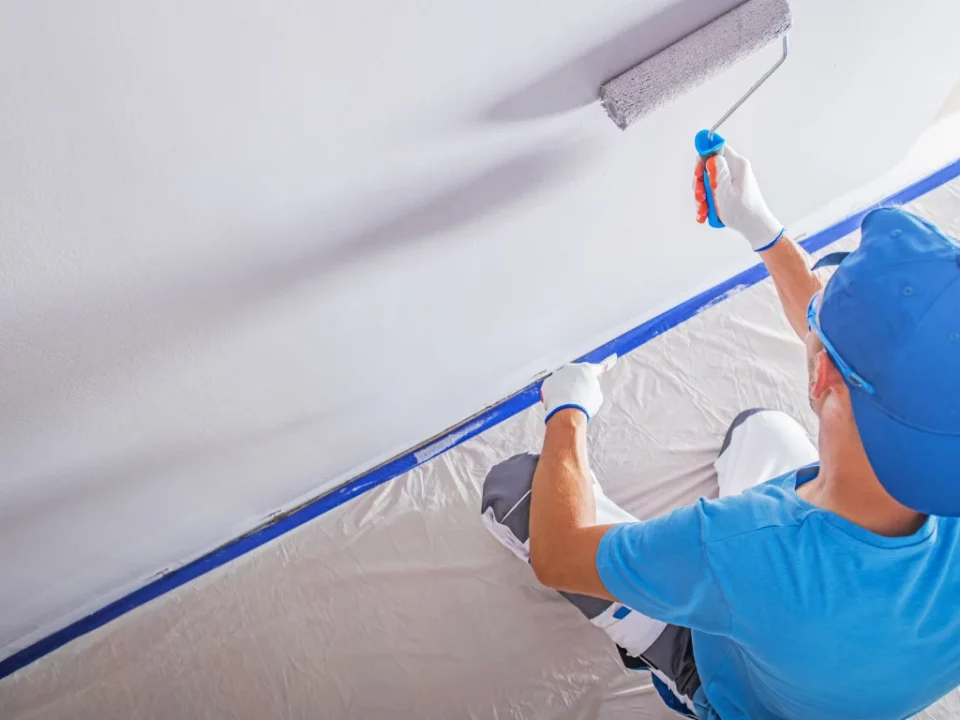
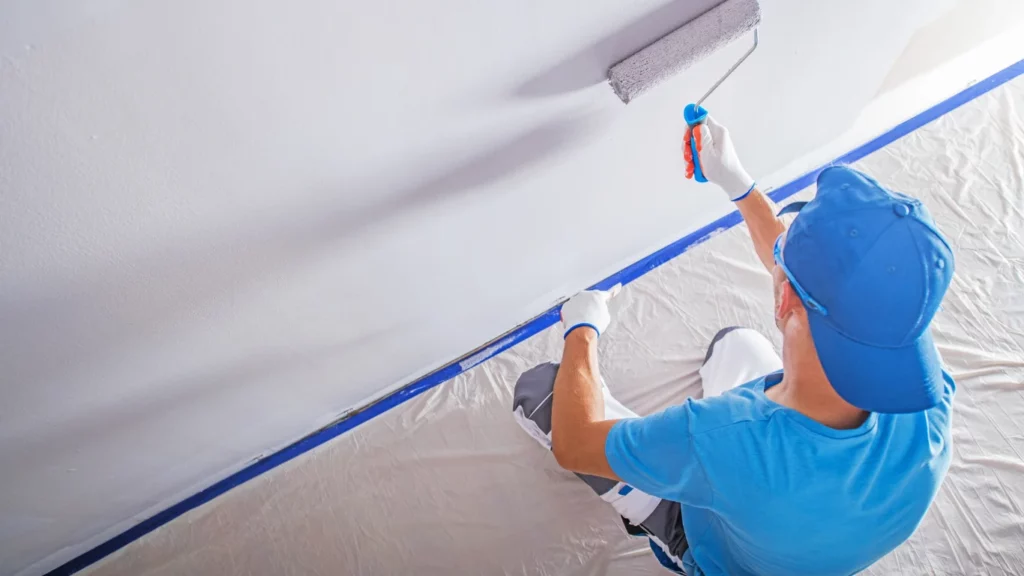
Before starting the painting itself, make sure to tape off areas you don’t want to paint, such as trim, windows, and door frames. Using high-quality painter’s tape will help create clean lines and protect adjacent surfaces from splatters. Cover any furniture or items in the room with drop cloths to protect them from accidental paint drips. If you’re painting exterior walls, ensure that plants, pathways, and any nearby structures are adequately protected.
Taking the time to properly prepare surfaces and surrounding areas can save you from headaches later and ensure your paint job looks professional. The ultimate preparation checklist for home painting projects emphasizes the importance of these preliminary steps, as they set the foundation for a flawless finish.
By following these preparation steps, you’ll set yourself up for success in your painting project. Proper planning, from gathering the right materials to preparing surfaces, ensures a smooth, stress-free process that leads to beautiful, long-lasting results.
Read More: