


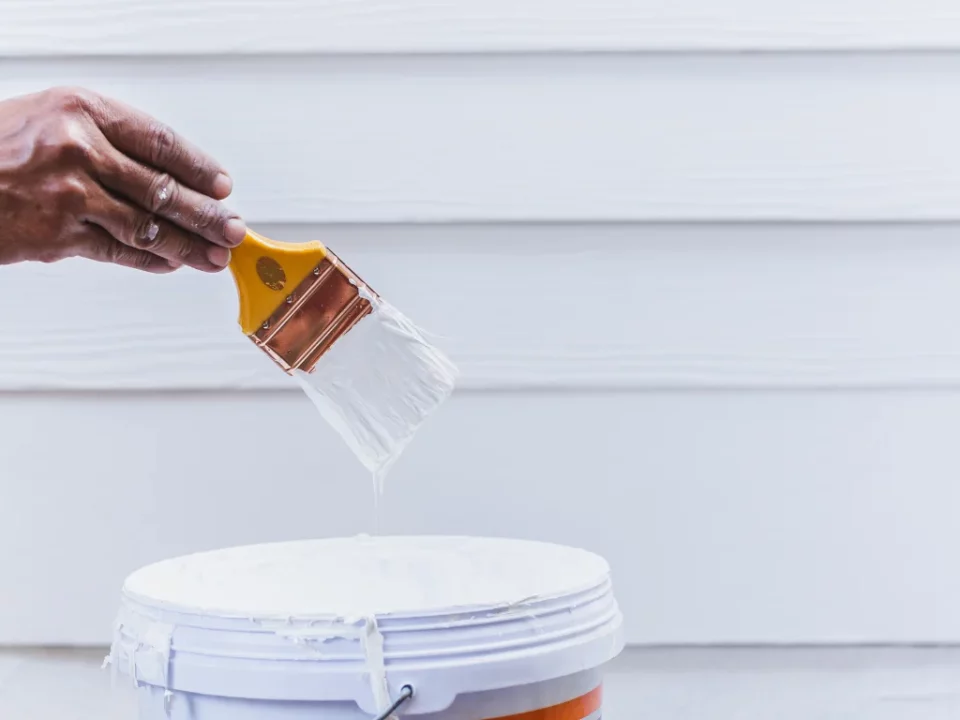
A flawless home painting project begins with proper preparation. The key to achieving professional results is taking the time to prep your space thoroughly before you start painting. Whether you’re painting the entire house or just a single room, following a step-by-step process can help ensure that your painting project is successful and long-lasting.
Clearing and Protecting Your Space
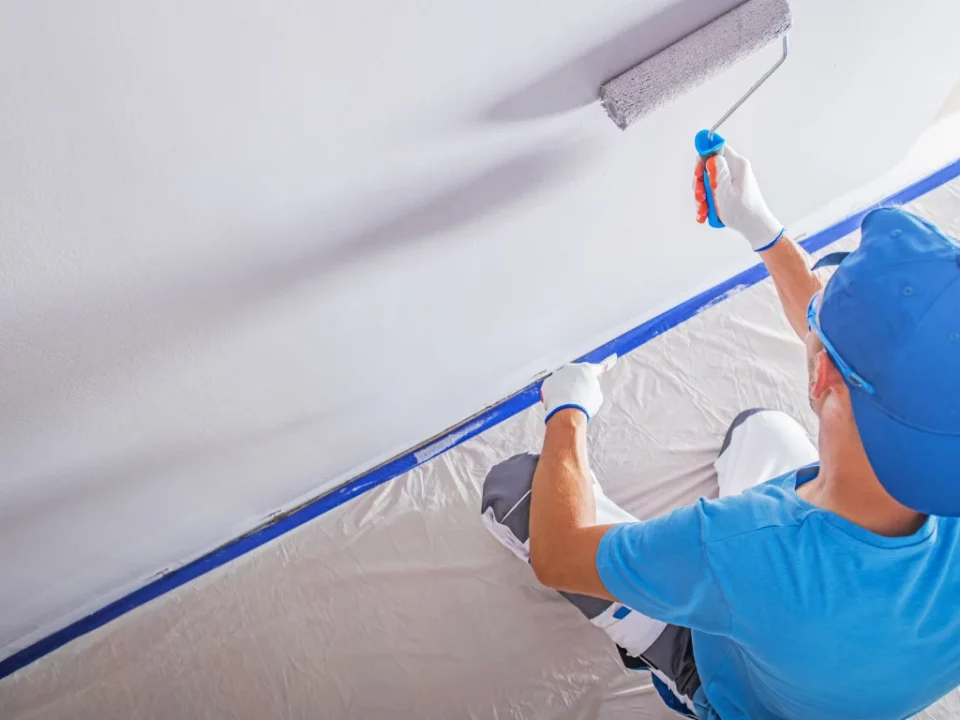
The first step in preparation is clearing the area. Remove furniture or move it to the center of the room and cover it with drop cloths to prevent paint splatters. You don’t want to risk damaging your furniture or flooring, so be sure to also cover the floors with plastic sheeting or canvas drop cloths. If you’re working on exterior painting, take steps to protect the plants, garden, and surrounding areas from splashes.
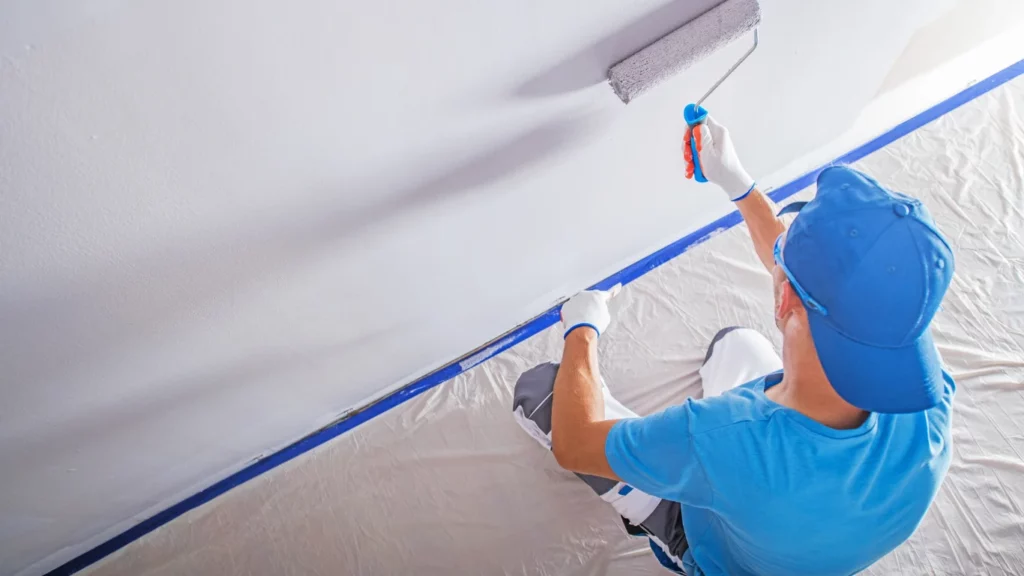
You’ll also want to remove light fixtures, switch covers, and any other items that could get in the way or be damaged during the painting process. It’s important to also tape off the edges of windows, doors, and trim to achieve sharp, clean lines. This step is essential for a flawless look and reduces the need for touch-ups later on.
Surface Preparation and Repairs
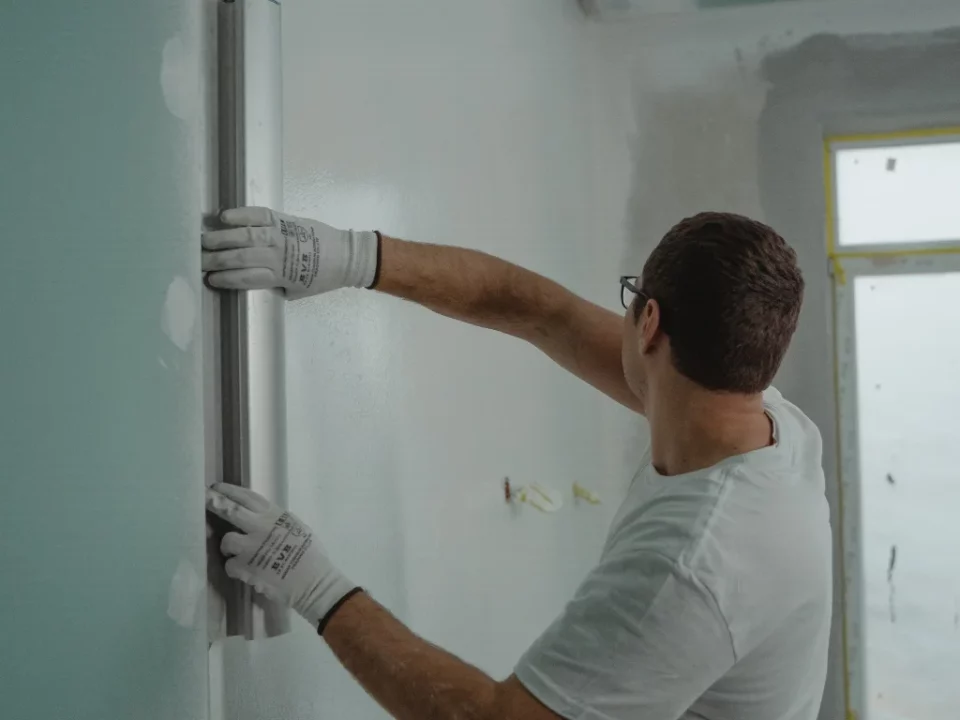
Surface preparation is one of the most critical steps for a flawless home painting project. Start by cleaning the walls thoroughly to remove dust, dirt, grease, and other debris that can interfere with the paint’s adhesion. Use a damp cloth and mild detergent for interior surfaces, while a degreaser might be needed for kitchens or high-traffic areas where oils have accumulated.
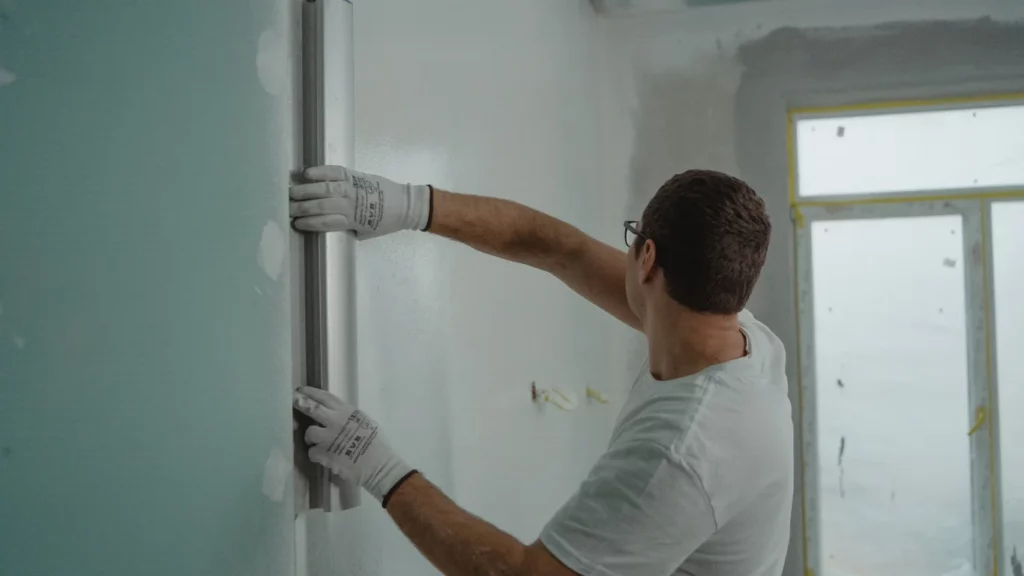
Once the surface is clean, inspect the walls for any imperfections. Small holes, dents, or cracks should be repaired before applying any paint. Use spackling paste or a wall filler to fill in holes and smooth over any damage. Once the filler dries, sand the surface until it’s smooth, and wipe away the dust to ensure a pristine painting surface. This preparation ensures that your paint will go on evenly and provide a flawless finish.
In addition to repairing the walls, check the trim, baseboards, and any other painted surfaces that need attention. Sand down rough spots and ensure that these areas are clean and smooth for a polished look when the project is complete. Proper surface preparation and repair are essential for achieving professional-quality results.
Taking the time for step-by-step preparation for a flawless home painting project is well worth the effort. When you clear the area, protect your surroundings, and properly prepare and repair the surfaces, you create an ideal foundation for the paint to adhere and produce the best results. With these steps in place, your home will have a smooth, durable, and beautifully painted finish that lasts for years to come.
Read More:
Common Mistakes to Avoid When Prepping Your Home for Painting