

Artificial grass installation has become a popular choice for homeowners looking to achieve a lush, green lawn without the hassle of constant maintenance. With the right approach, you can transform your outdoor space into a beautiful and durable area that stays vibrant year-round. Whether you are handling the project yourself or hiring professionals, understanding the process can make the installation smoother and more successful.
Preparing Your Yard for Artificial Grass Installation Made Easy
The first step in artificial grass installation is proper preparation. Begin by clearing the area where the grass will be placed. Remove any existing grass, weeds, rocks, or debris to create a clean and level surface. This step is essential to prevent uneven areas and ensure the artificial turf lays smoothly. For larger spaces, using a sod cutter can make the process faster and more efficient.
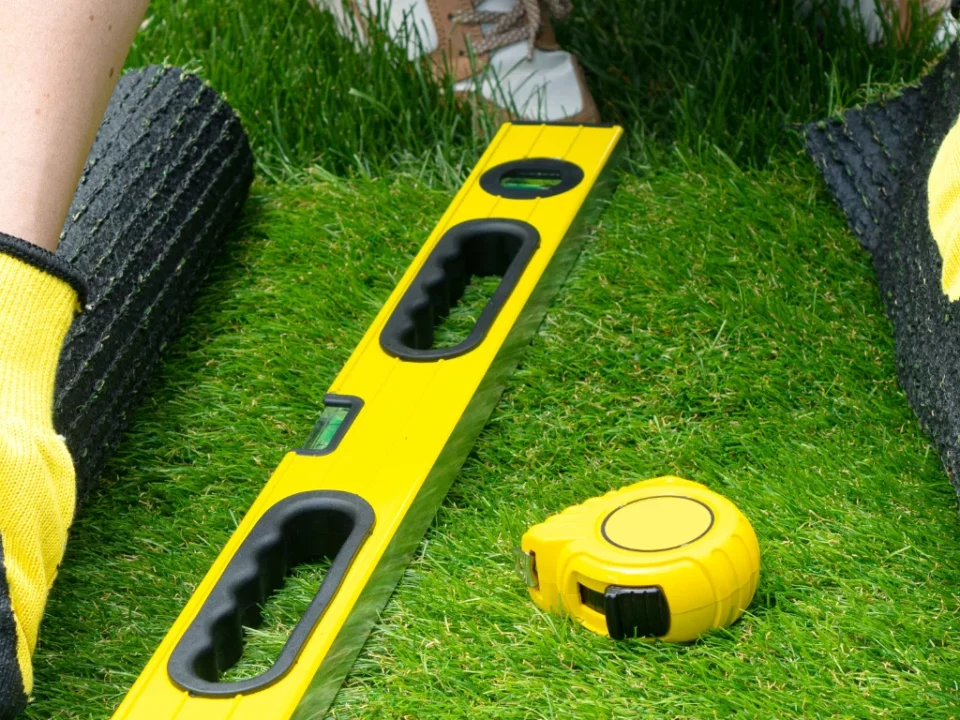
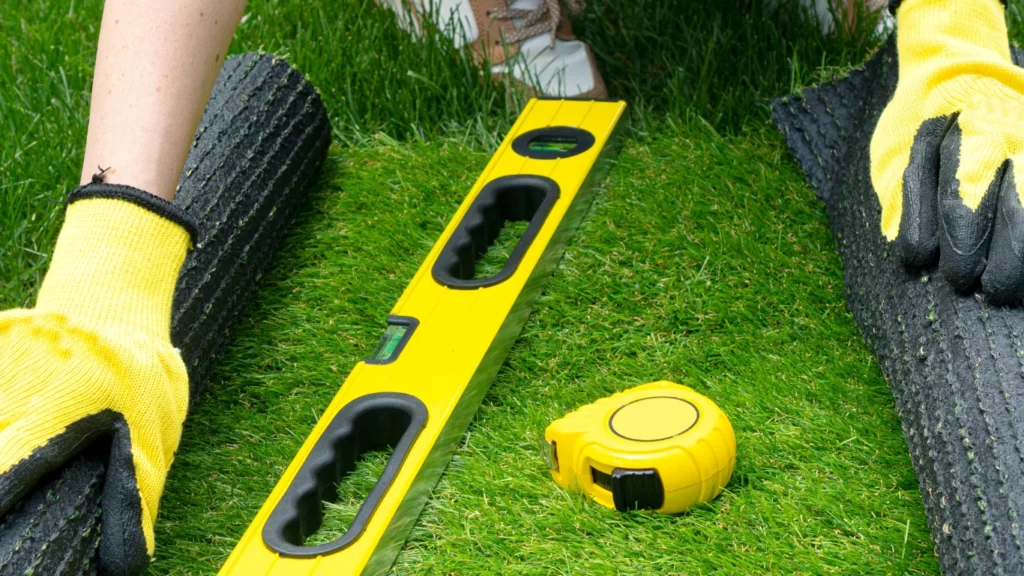
After clearing the area, focus on leveling the ground. Uneven surfaces can cause drainage problems and an uneven appearance. Spread a layer of crushed stone or decomposed granite across the area to create a solid foundation. This base material helps with water drainage and stabilizes the artificial grass. Compact the base layer using a hand tamper or plate compactor to create a firm and even surface. A compacted depth of about three to four inches is ideal to provide long-lasting support for the turf.
Installing a weed barrier is another crucial step. This layer prevents weeds from growing through the artificial grass, keeping your lawn looking neat and clean. Use a high-quality, permeable weed barrier fabric and secure it with landscape staples. Ensuring proper drainage is also vital. If your yard is prone to water retention, consider installing a drainage system to prevent pooling and extend the life of your artificial grass.
Laying and Securing the Turf for a Perfect Artificial Grass Installation
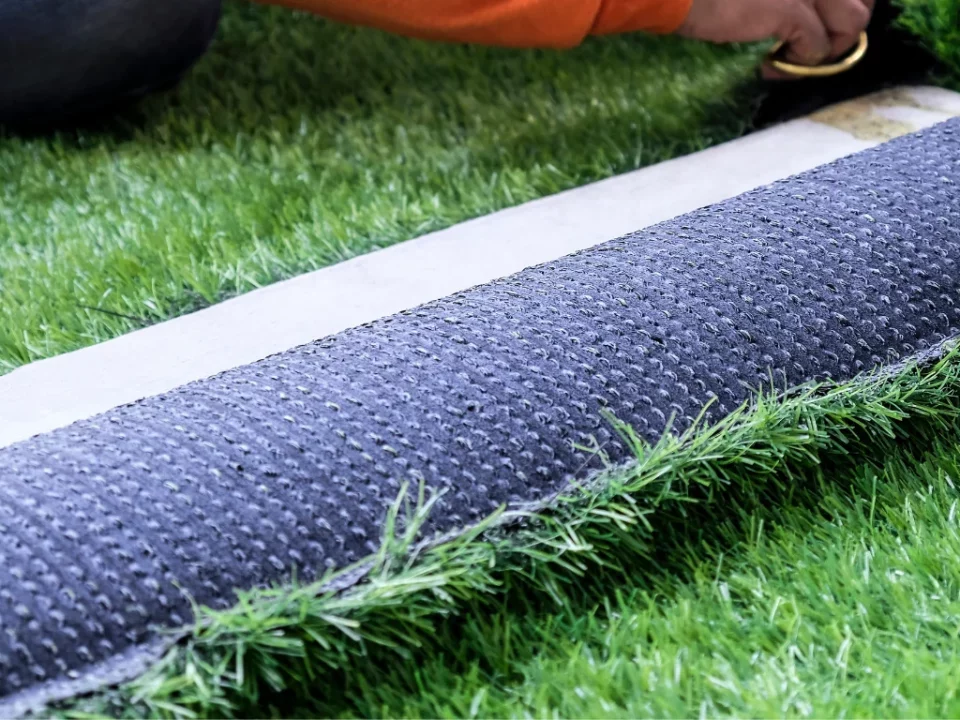
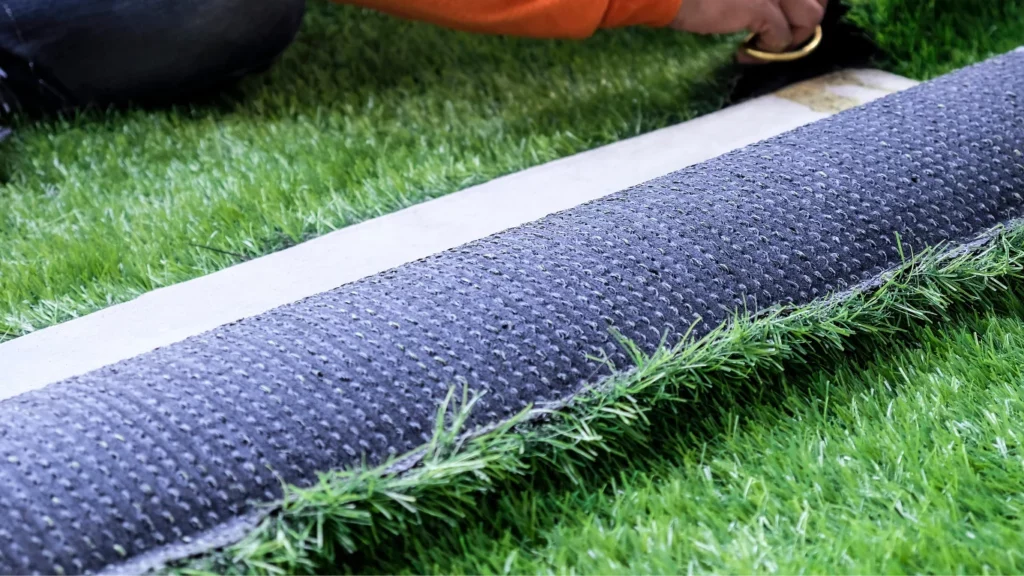
Once the preparation is complete, it is time to lay the artificial grass. Roll out the turf carefully, ensuring it aligns with the shape of your yard. Allow the turf to sit for a few hours to adjust to the temperature and reduce wrinkles. When positioning multiple pieces, make sure the grass fibers face the same direction for a consistent look.
Trim any excess turf using a sharp utility knife. Take your time to cut precisely around edges, pathways, and other features for a seamless finish. Once the turf is in place, secure the edges using landscape spikes or turf nails. Space the nails about six inches apart around the perimeter and along any seams. This step ensures the turf stays in place, even under heavy use.
To achieve a natural appearance, brush the artificial grass fibers with a stiff-bristled broom. This process lifts the blades and helps the turf settle into position. Adding an infill material, such as silica sand or rubber granules, can further enhance the turf’s stability and improve drainage. Spread the infill evenly across the grass and brush it in to distribute it thoroughly.
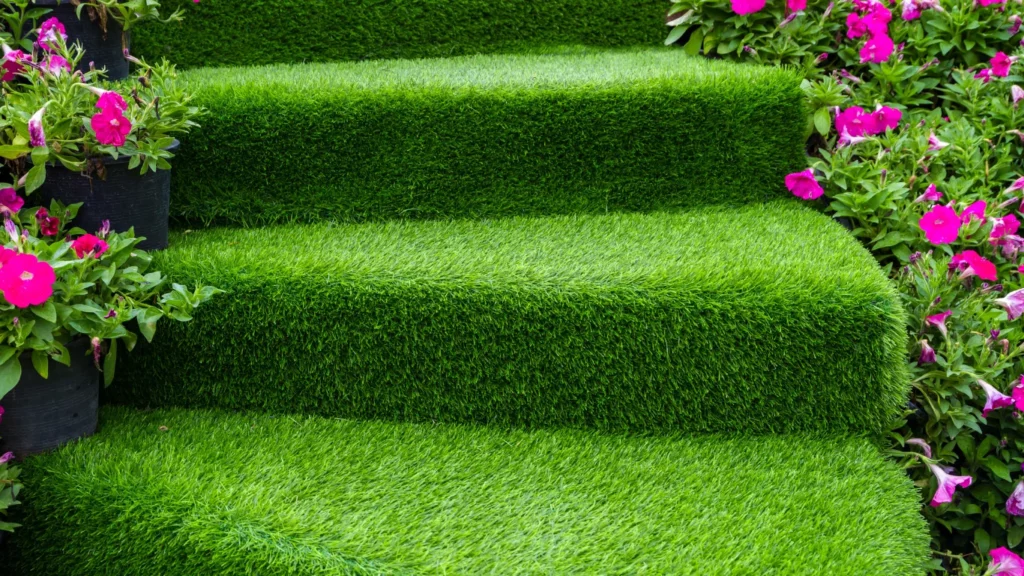
Artificial grass installation made easy starts with proper planning and attention to detail. By preparing the ground thoroughly, ensuring effective drainage, and securing the turf properly, you can enjoy a flawless, low-maintenance lawn. With these simple tips, your artificial grass will stay lush and beautiful for years to come.
Read More: