

Artificial Grass Installation: A Step-by-Step Guide to a Beautiful Lawn
Artificial grass installation has become an increasingly popular choice for homeowners looking to achieve a beautiful, low-maintenance lawn. Unlike natural grass, which requires regular watering, mowing, and fertilizing, artificial grass offers a clean and green alternative that stays vibrant year-round. If you’re considering making the switch to synthetic turf, here’s a step-by-step guide to ensure a successful and long-lasting installation.
Preparing the Area for Artificial Grass Installation
The first step in artificial grass installation is preparing the area where the turf will be laid. Start by removing any existing grass, weeds, or debris from the area. This is typically done using a shovel or a sod cutter to eliminate the old lawn, ensuring that the surface is clear and ready for the new turf. It’s important to also remove any rocks or large roots that may interfere with the smoothness of the installation.
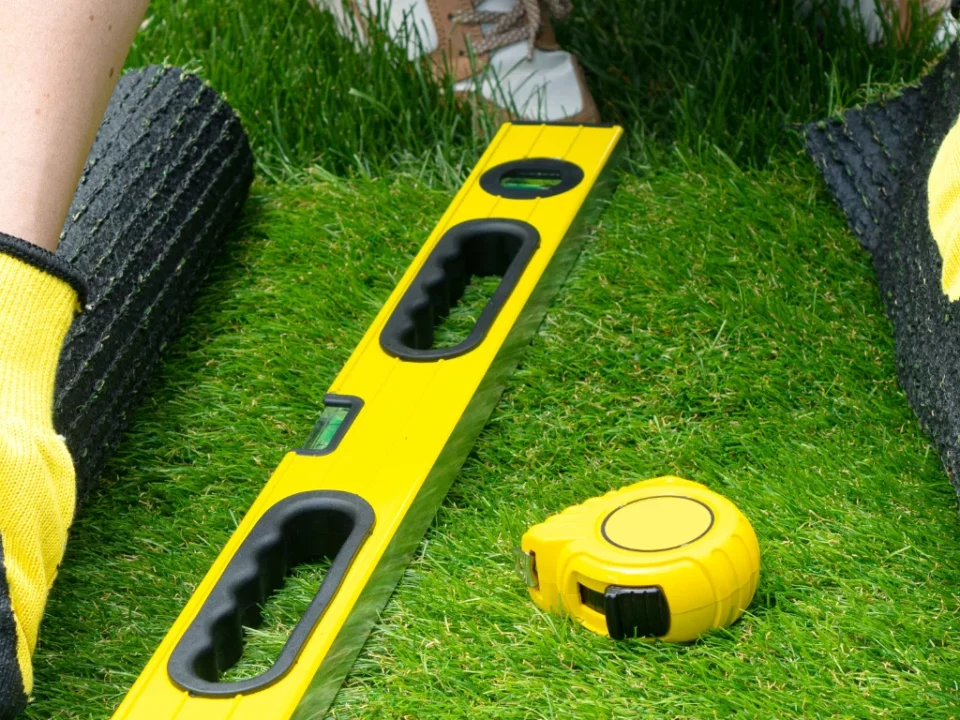
Once the area is cleared, you’ll need to level the ground to create a uniform surface. This may involve adding or removing soil, and using a rake to smooth everything out. Proper leveling ensures that the artificial grass will have a consistent and even appearance once installed. If the ground is not level, water can pool in certain areas, which can cause uneven wear or damage to the turf over time.
Next, a layer of crushed rock or gravel is typically added to create a solid base for the artificial grass. This base layer helps with drainage and provides stability for the turf. The gravel should be compacted to create a firm surface that won’t shift or sink over time. After the gravel is in place, it’s a good idea to add a layer of weed barrier fabric to prevent any unwanted plants from growing underneath the turf.
Installing the Artificial Grass
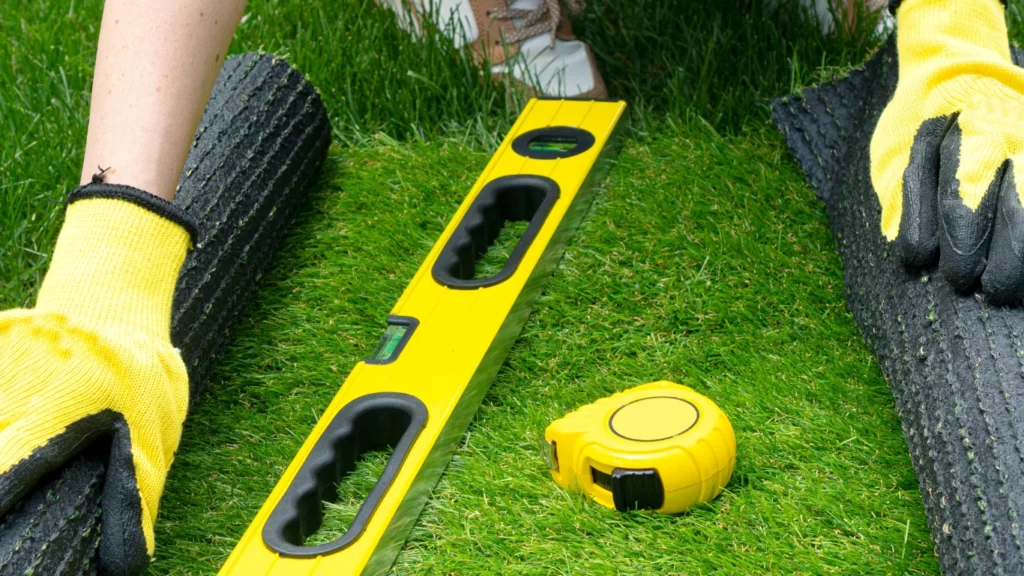
Once the area is properly prepared, it’s time to install the artificial grass. Begin by rolling out the synthetic turf over the base, ensuring that the edges align with the perimeter of the area. Depending on the size of the lawn, you may need to cut the turf to fit. This can be done using a utility knife or a turf cutter to achieve a precise fit along the edges and corners.
Next, the seams of the artificial grass are joined together using specialized adhesive or turf tape. It’s crucial to make sure that the seams are tightly aligned to prevent any gaps or visible lines between sections. If the area is large, multiple rolls of turf may be required, and each piece should be carefully fitted and secured to ensure a seamless, natural look.
After the turf is in place, secure it along the edges using turf nails or staples. These are typically placed about every 4-6 inches around the perimeter of the lawn to keep the grass firmly anchored. Be sure to avoid placing nails too close to the seams, as this could cause shifting or puckering of the edges.
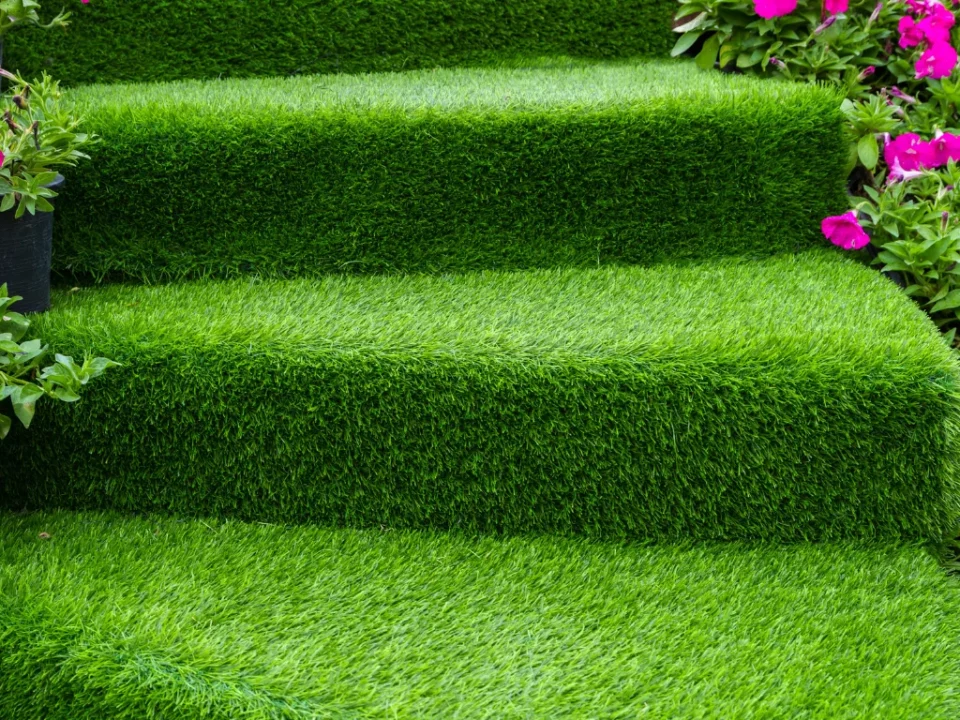
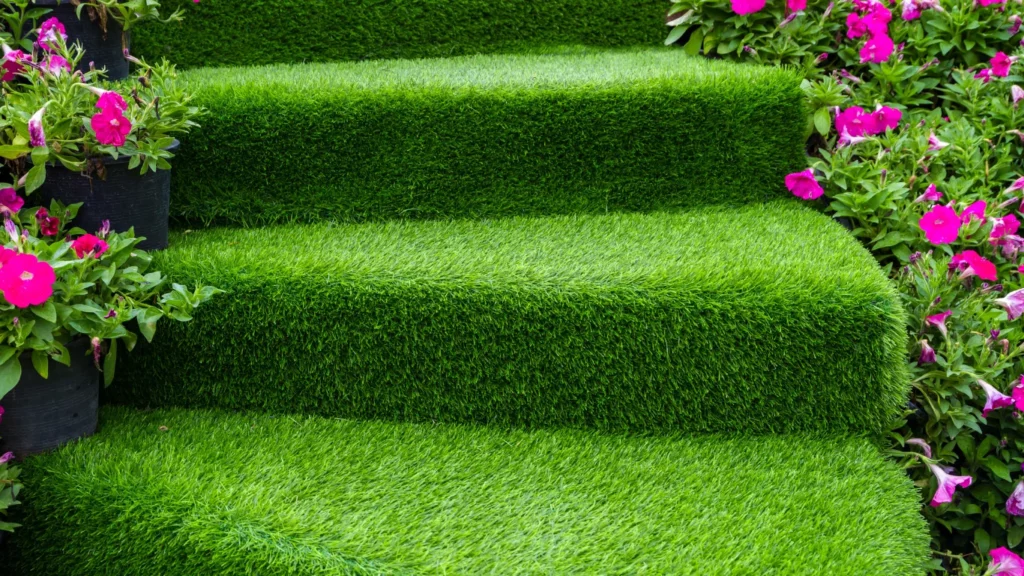
Finally, once the artificial grass is fully installed and secured, brush the turf with a broom or a power brush to lift the fibers and give the grass a more natural, upright appearance. This step also helps distribute the infill material, which may include silica sand or rubber granules. Infill helps keep the grass in place, improves drainage, and adds weight to the turf for a more realistic feel.
Artificial grass installation is a straightforward process that can transform your lawn into a beautiful, maintenance-free area. By properly preparing the ground, laying the turf, and securing it in place, you can enjoy a lush, green lawn without the hassle of regular upkeep. Whether for your backyard, front yard, or commercial space, artificial grass offers a long-lasting, eco-friendly solution for a perfect lawn year-round.